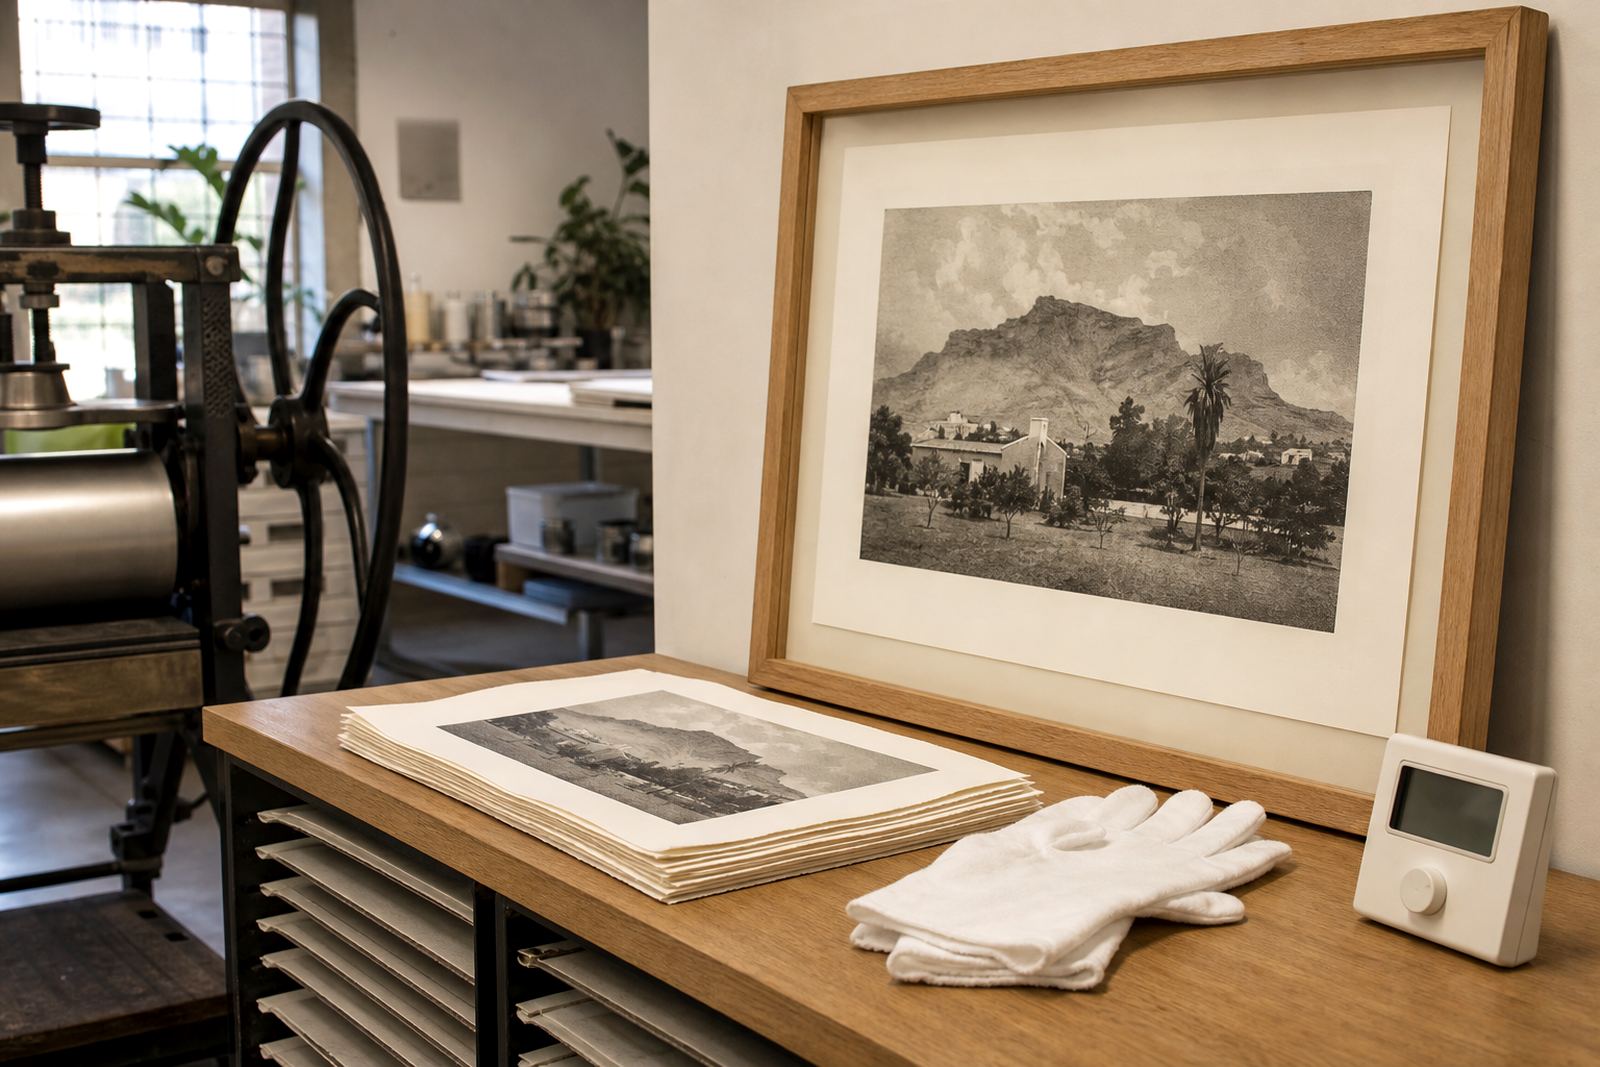
Start Here: How Stone Lithography Works
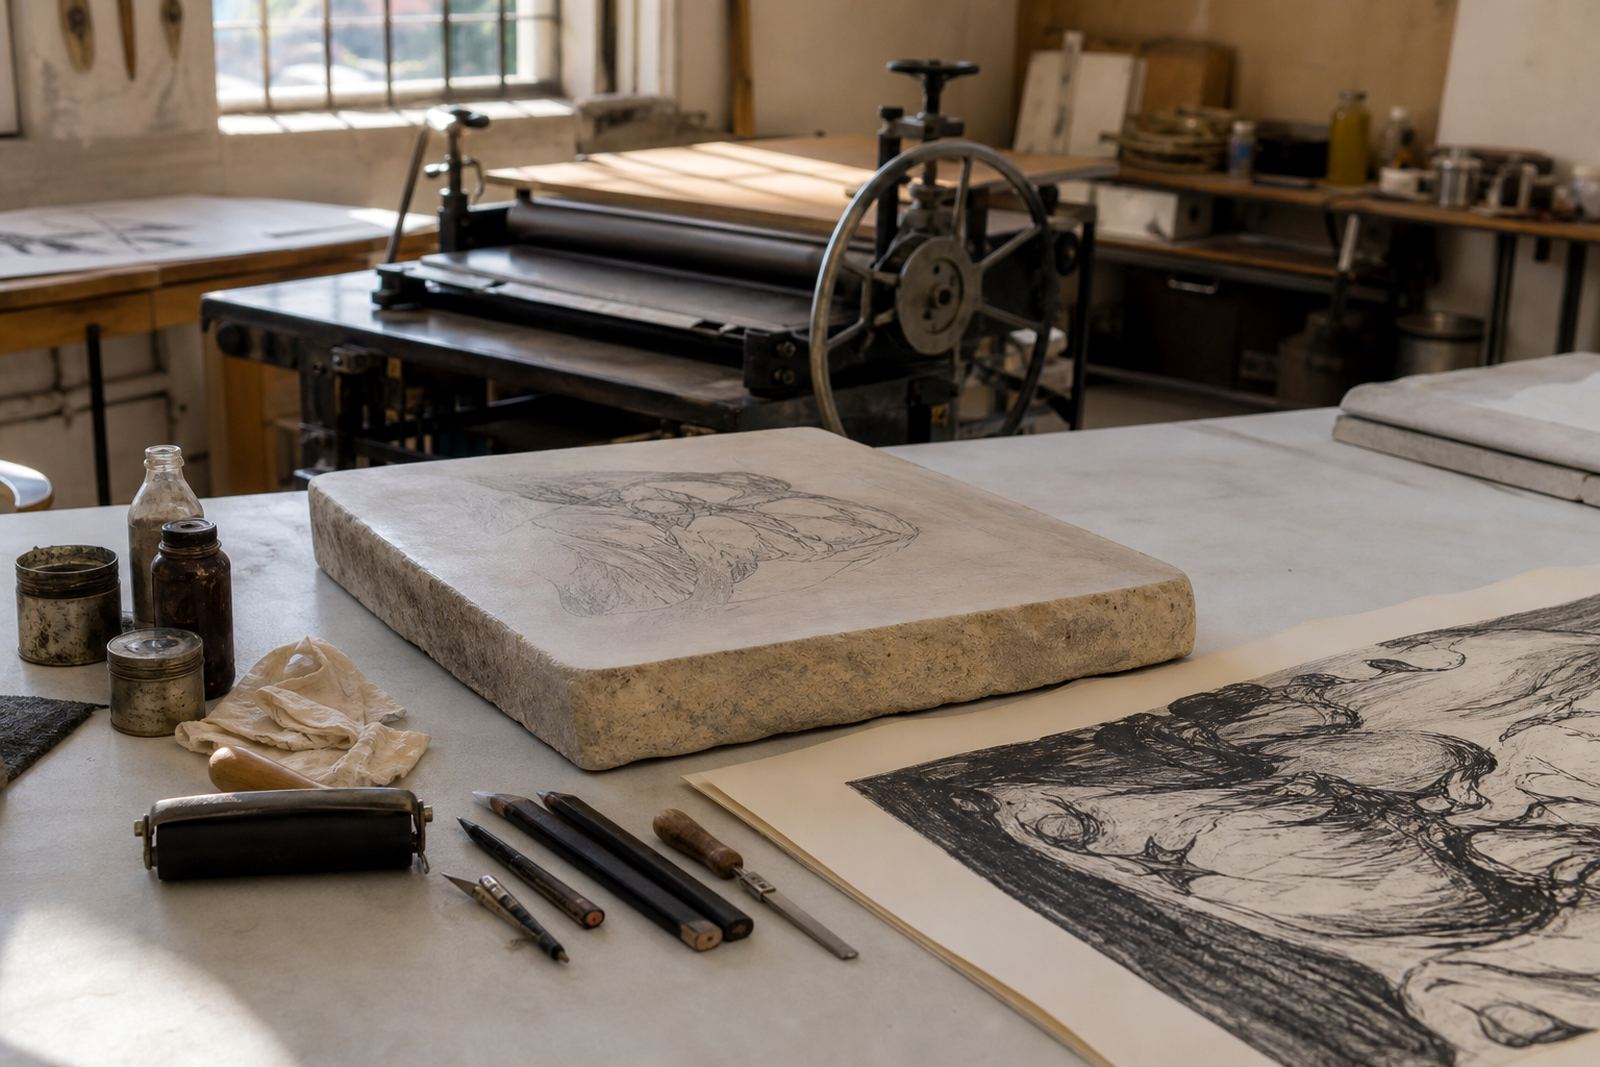
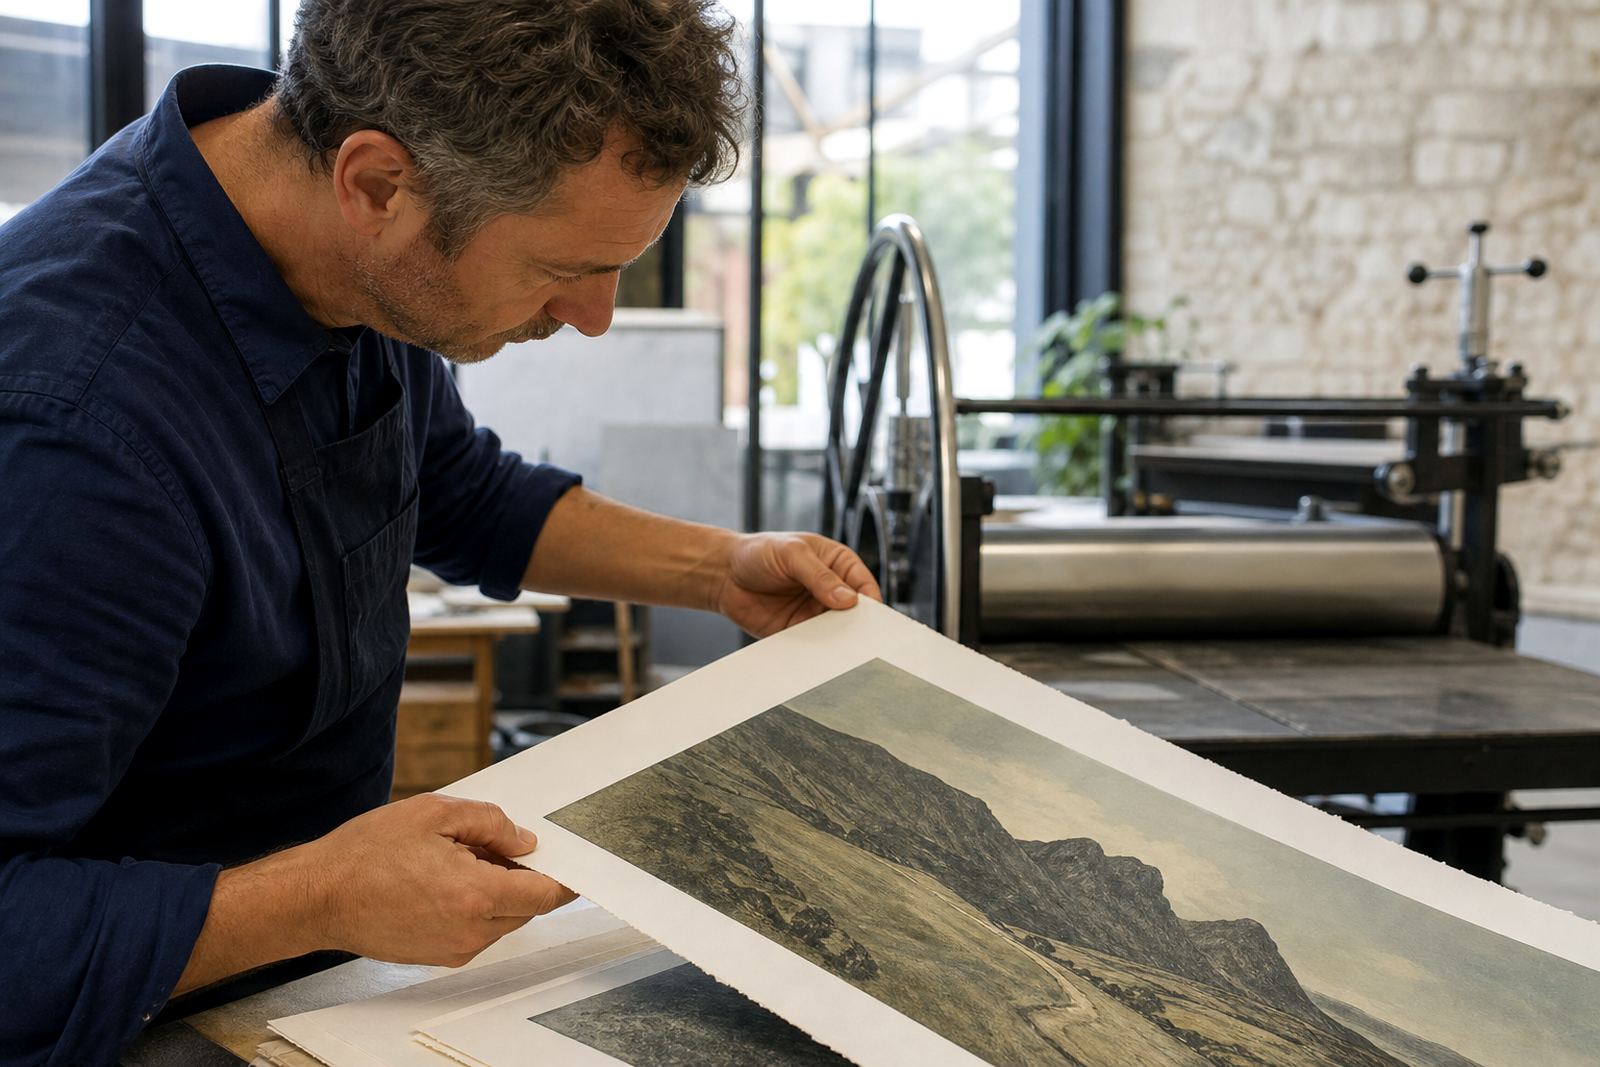
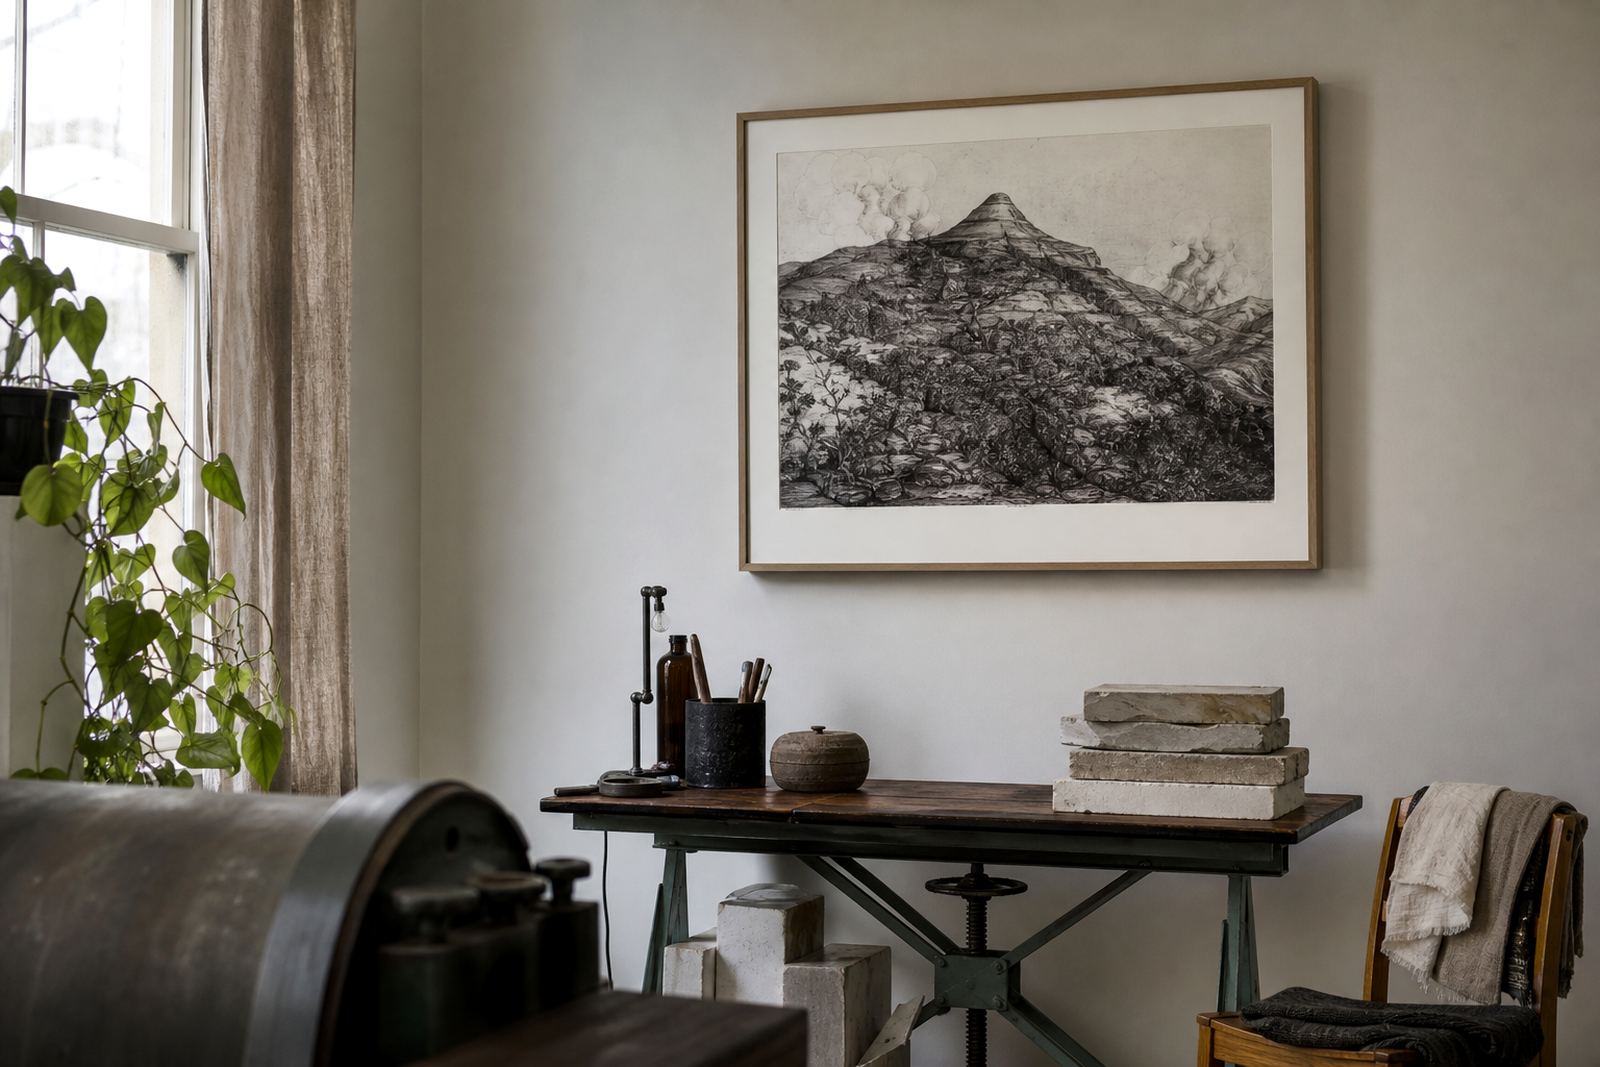
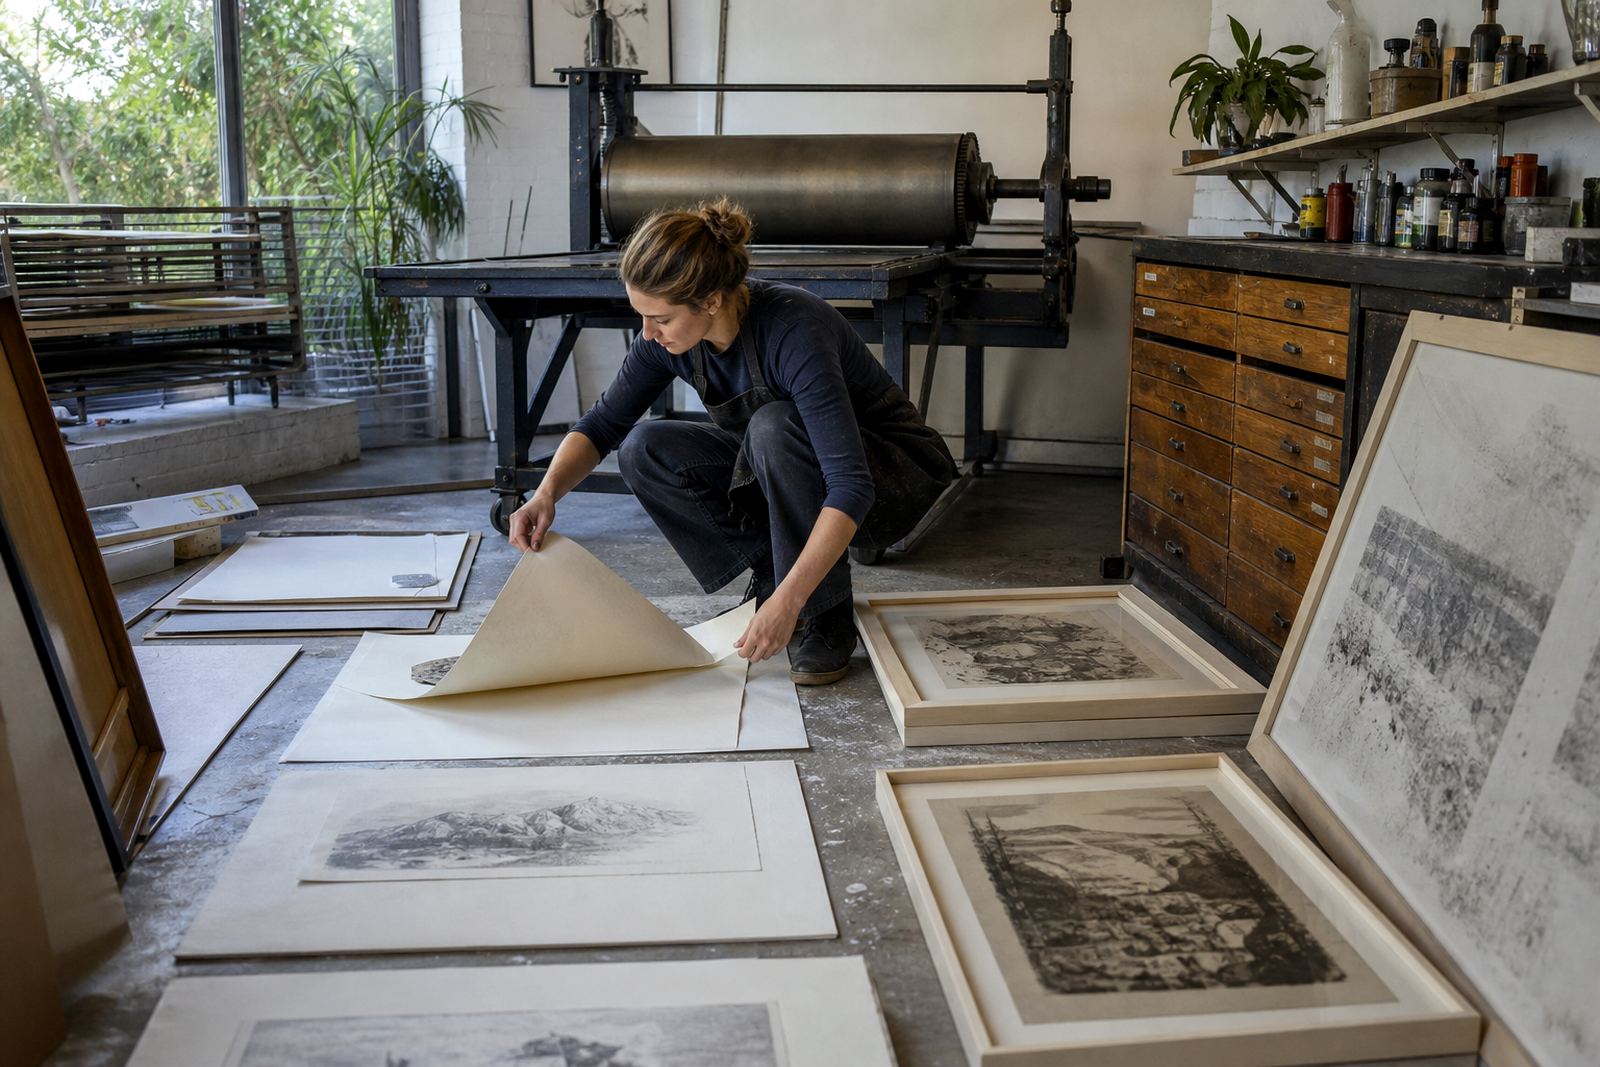
The process begins with a smooth limestone surface, prepared for drawing by hand as part of this planographic printmaking method. The image sits on the stone through the natural push and pull between grease and water, which lets the printer pull fine tonal detail, soft marks and strong colour layers from the same matrix. It is a careful process, and each stone must be prepared, printed and cleaned with precision.
For artists, this method offers a direct way to work with line, wash and texture. For collectors, it creates prints with a distinct tactile presence and a visible link to the hand of the maker. In a Cape Town studio, temperature, humidity and drying time all matter, especially when working through summer heat or coastal damp.
Choosing the Right Edition for Your Project
Edition planning shapes how a print is made, how many impressions are taken, and how consistency is maintained across the run. A small edition may suit a more intimate body of work, while a larger edition can allow wider access for collectors. The right choice depends on the image, the number of colour layers, and how much variation the artist is willing to accept.
- Decide whether the work will be a short edition, a standard edition, or a proof-based project.
- Confirm the intended paper, image size, and number of colours before proofing begins.
- Allow for artist proofs and printer proofs where needed.
- Keep the edition count clear from the start so signing and numbering stay consistent.
A clear plan at the beginning saves time later and helps avoid confusion once the stones are prepared and the first proofs are pulled.
What Happens During Proofing Sessions
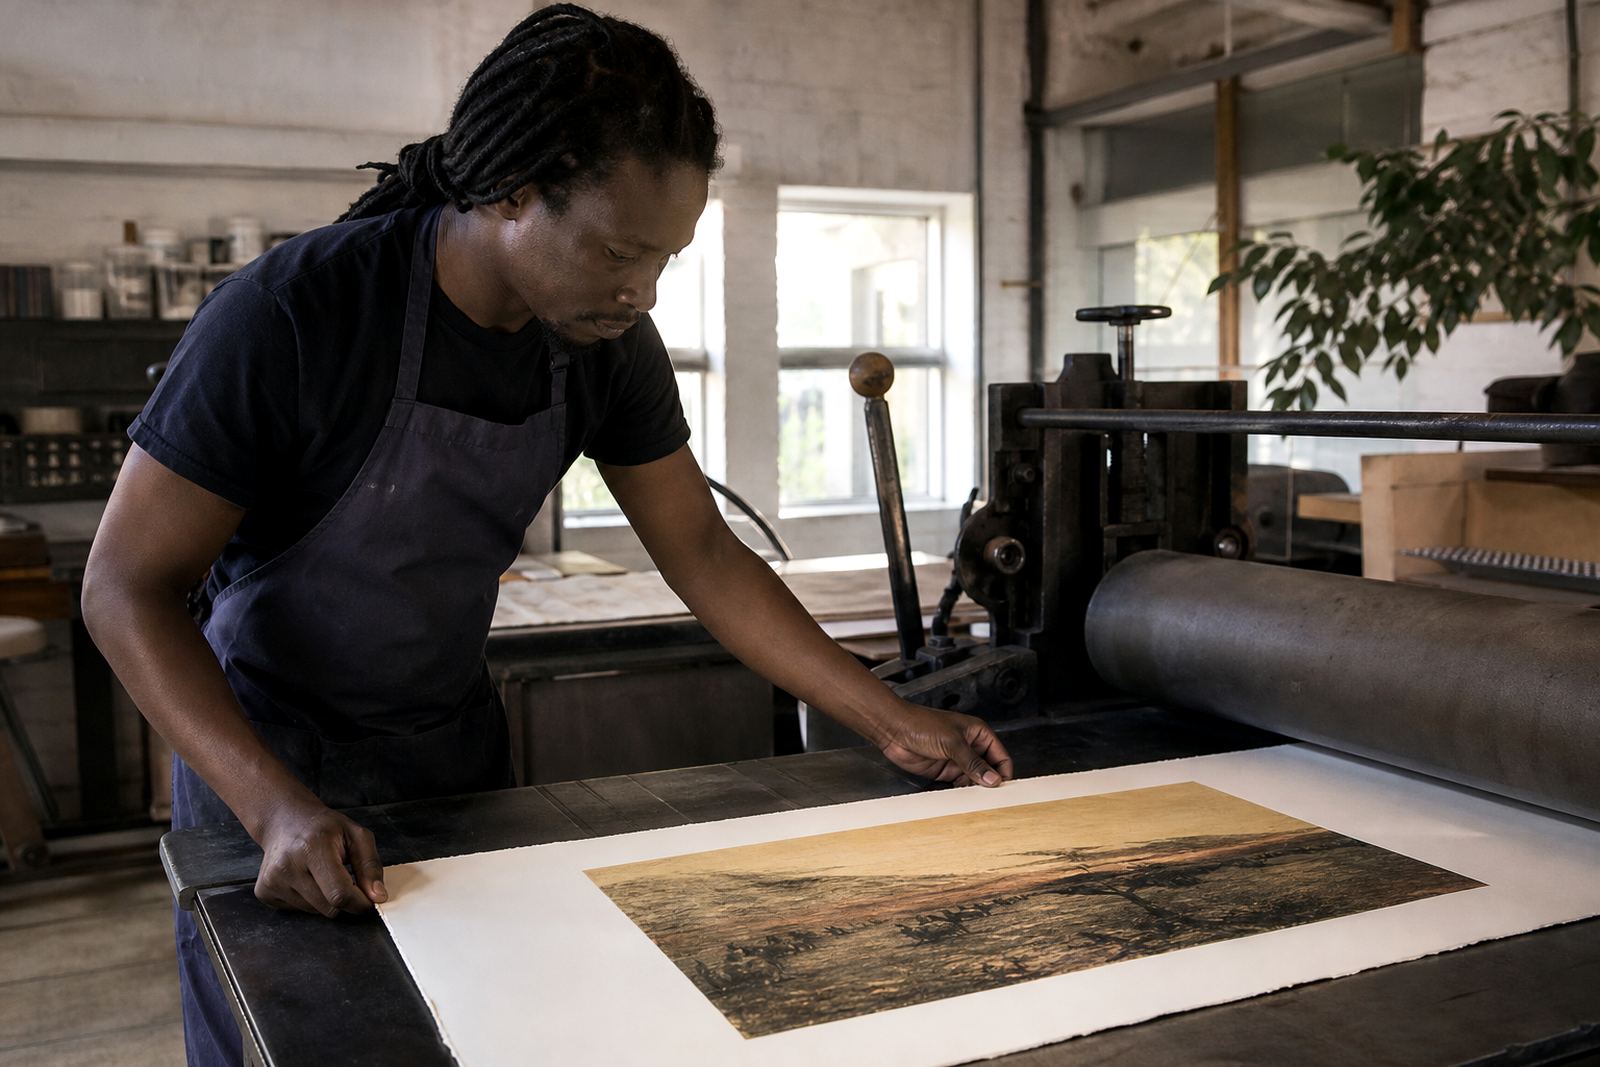
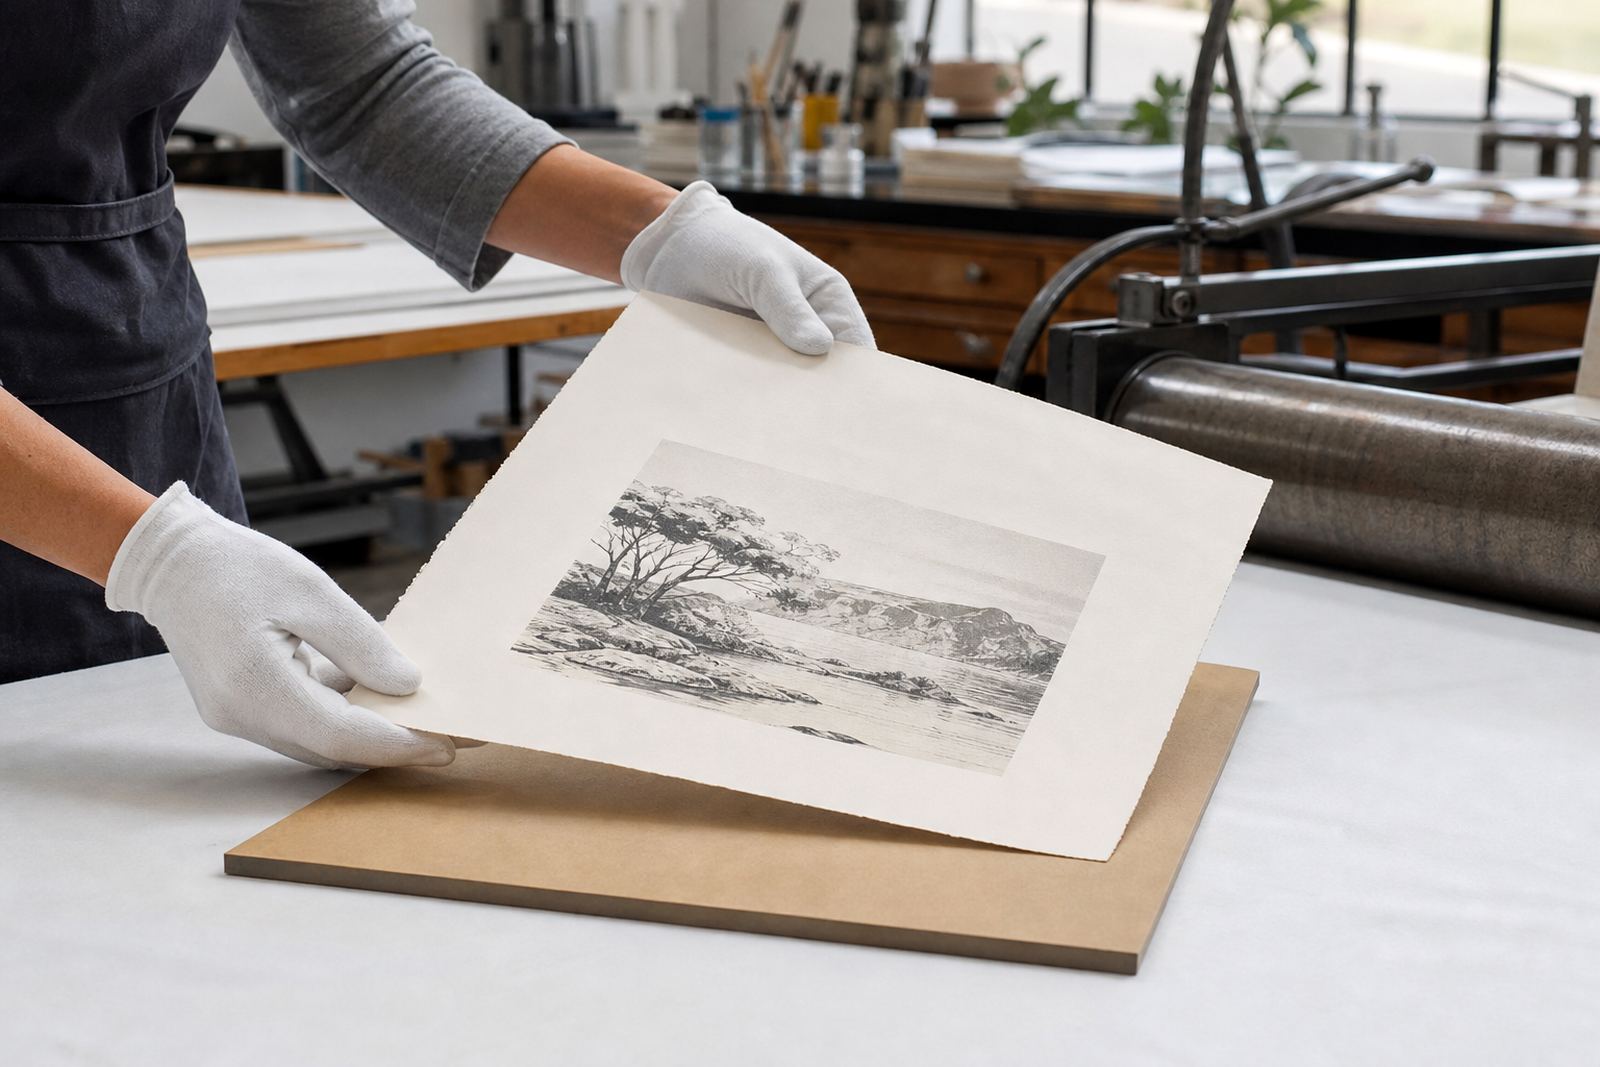
Proofing is where the print is tested, adjusted, and approved before the full edition is run. This stage may involve changes to the drawing, shifts in colour balance, or small adjustments to registration. It is normal for a stone lithograph to go through several proofs before the final version is settled.
Proofing sessions are useful for artists and collectors who want to understand how the final print will read on paper. They also help the studio confirm that inks, dampening, and pressure are working as intended. In practice, the best proof is one that matches the artist’s intention and can be repeated across the edition without drift.
Paper, Framing and Storage Basics
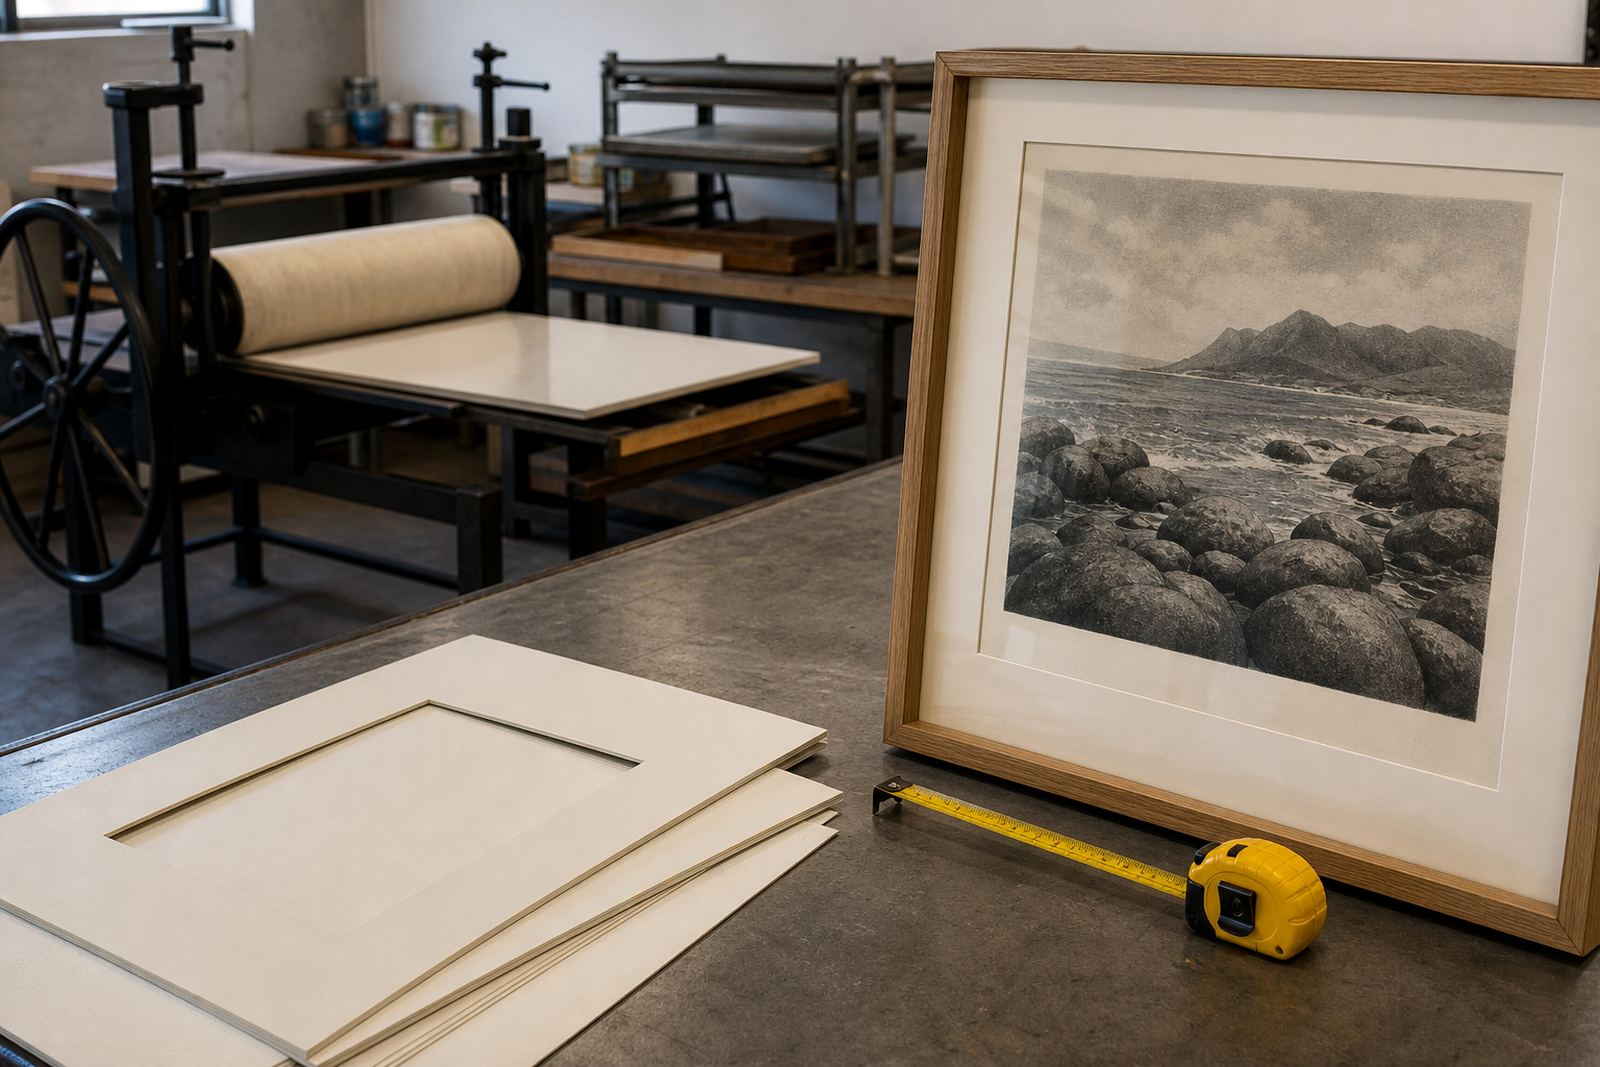
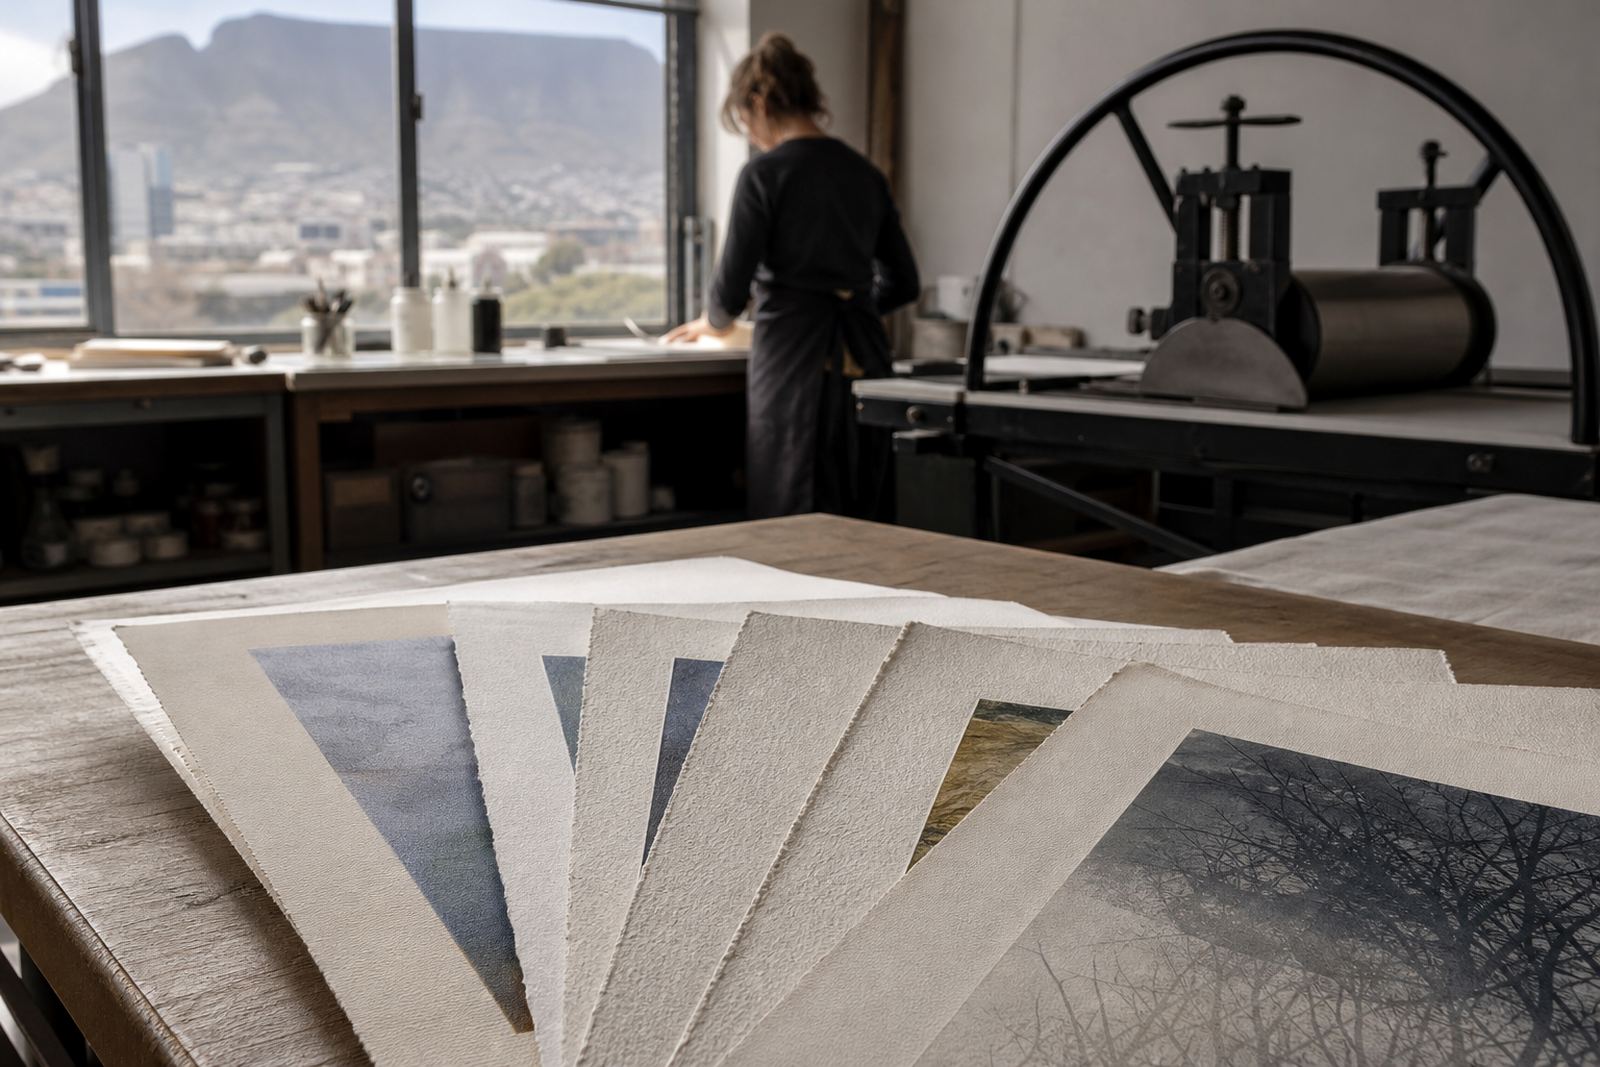
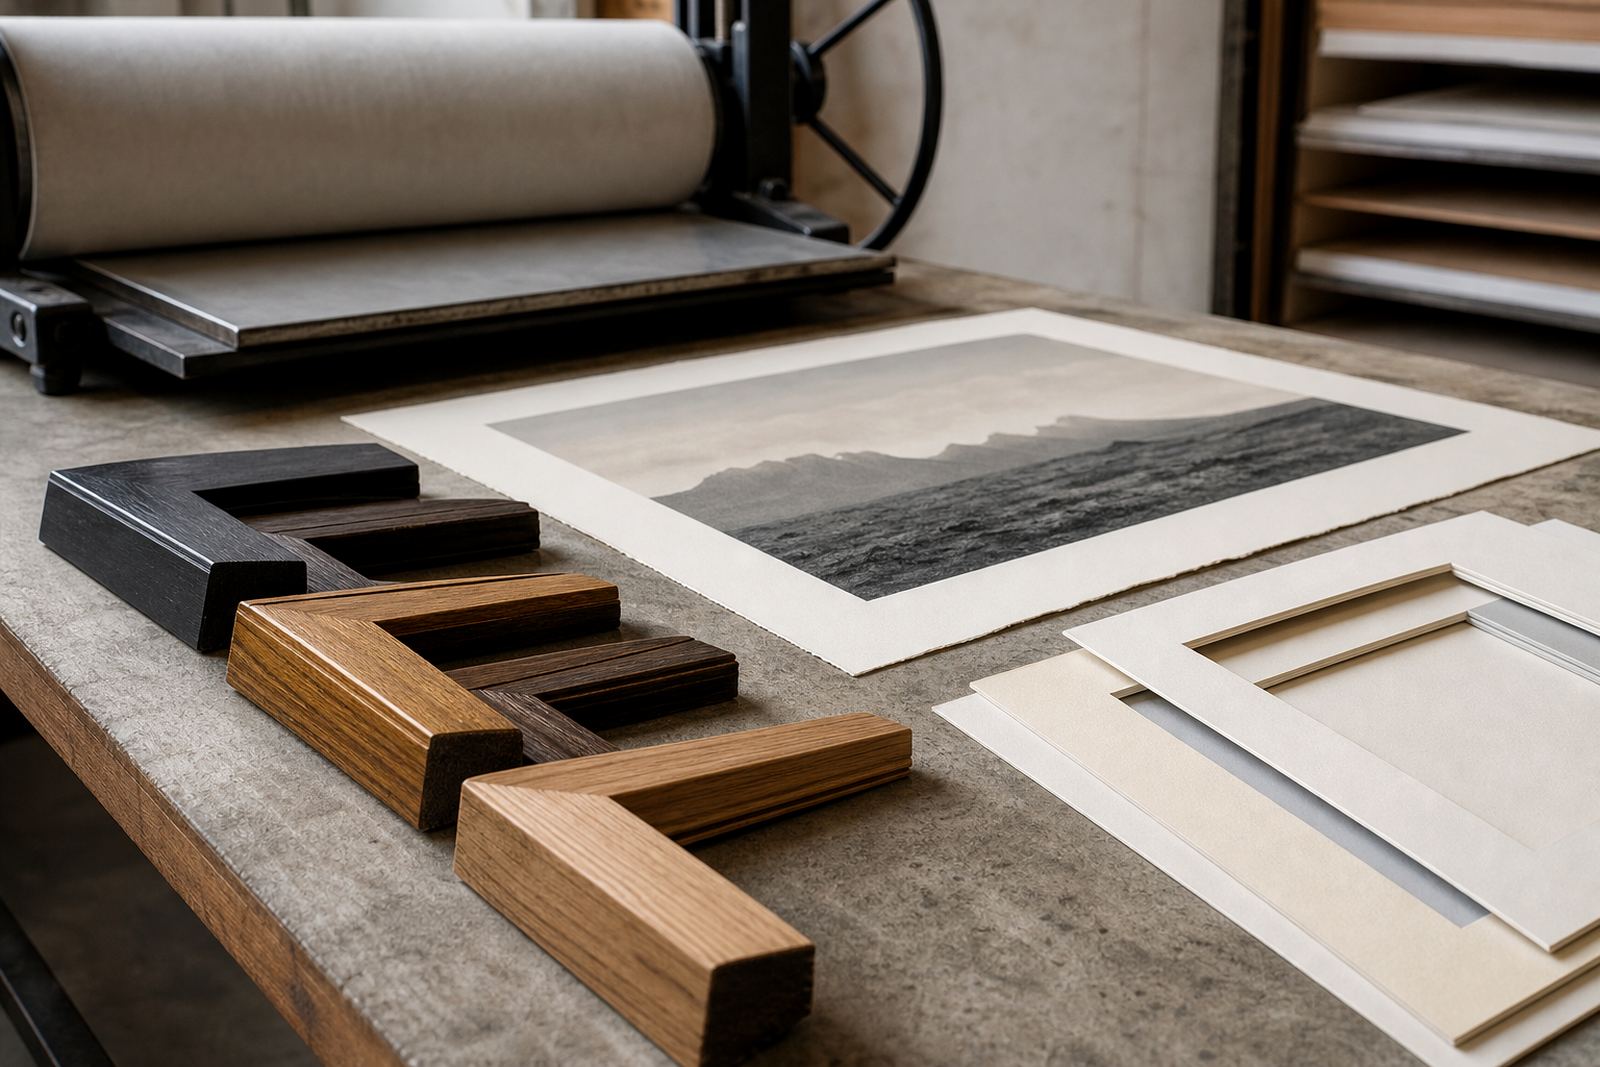
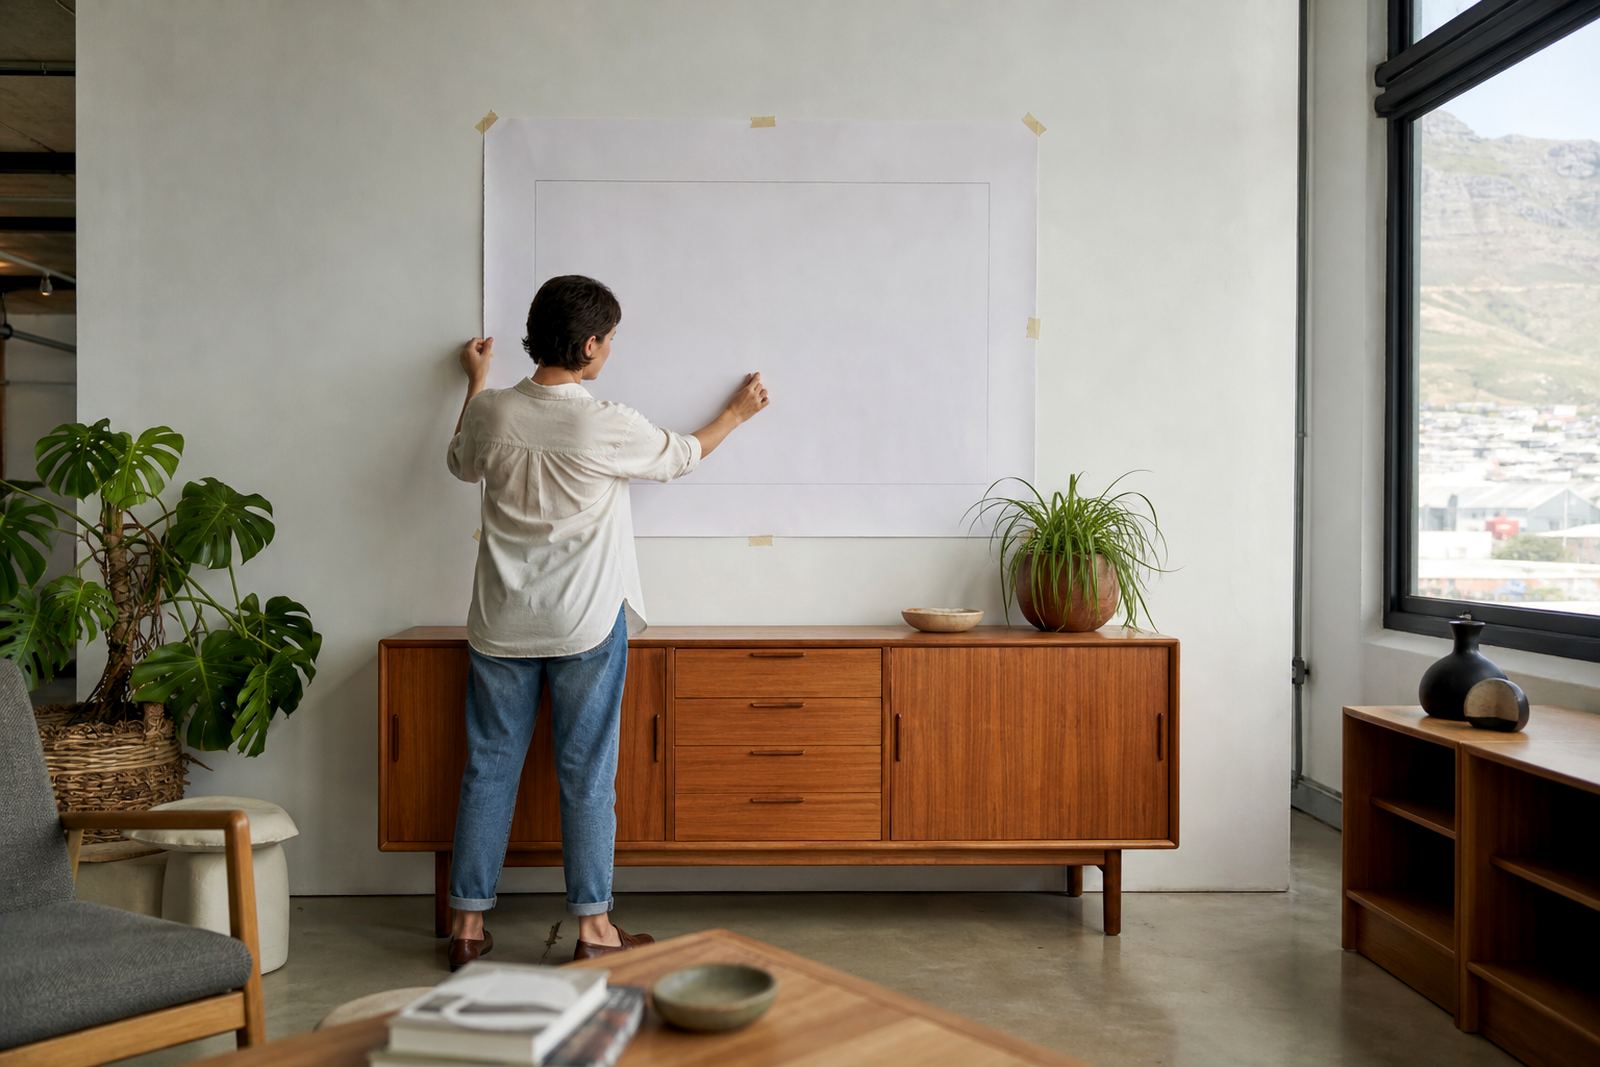
Paper choice affects both the appearance and longevity of a print. Heavier cotton papers often support strong ink coverage and handle multiple passes well. Smoother sheets can suit finer detail, while more textured papers may suit softer tonal work. For collectors in humid areas like Durban or coastal Cape Town, paper and framing choices should account for moisture and movement.
- Use acid-free mounting materials and backing boards.
- Keep the print away from direct sun and damp walls.
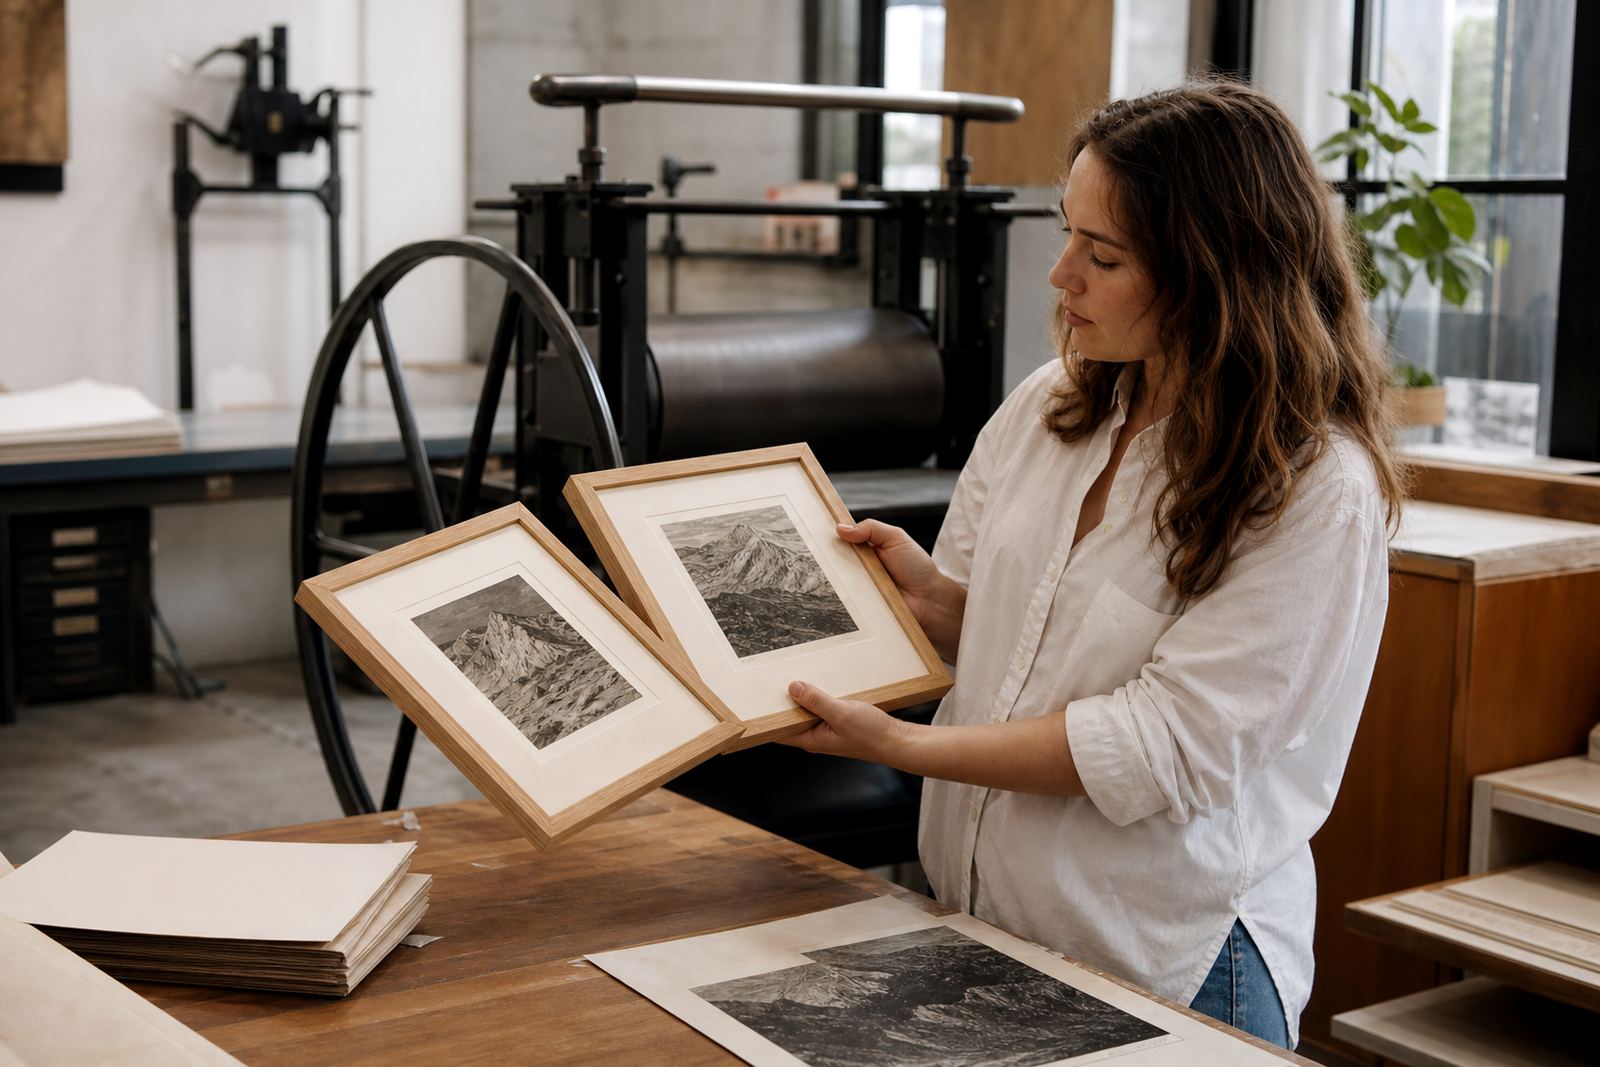
- Leave a safe air gap between artwork and glazing.
- Choose framing that allows the paper to breathe, not trap moisture.
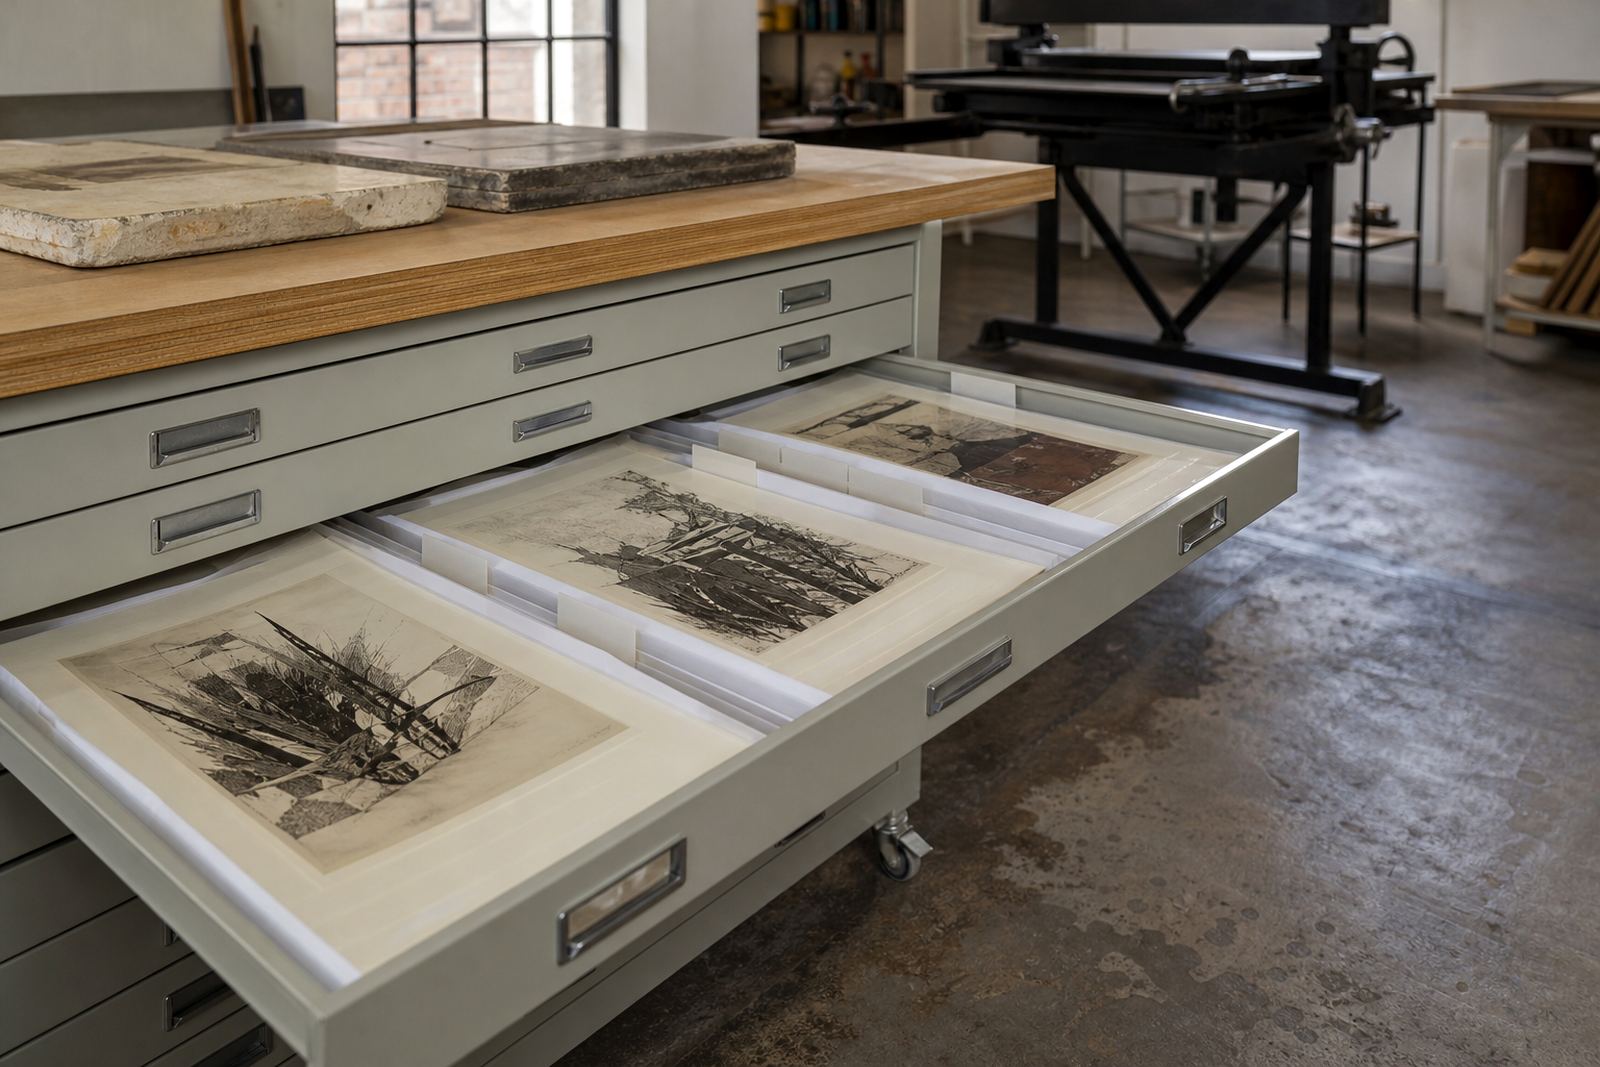
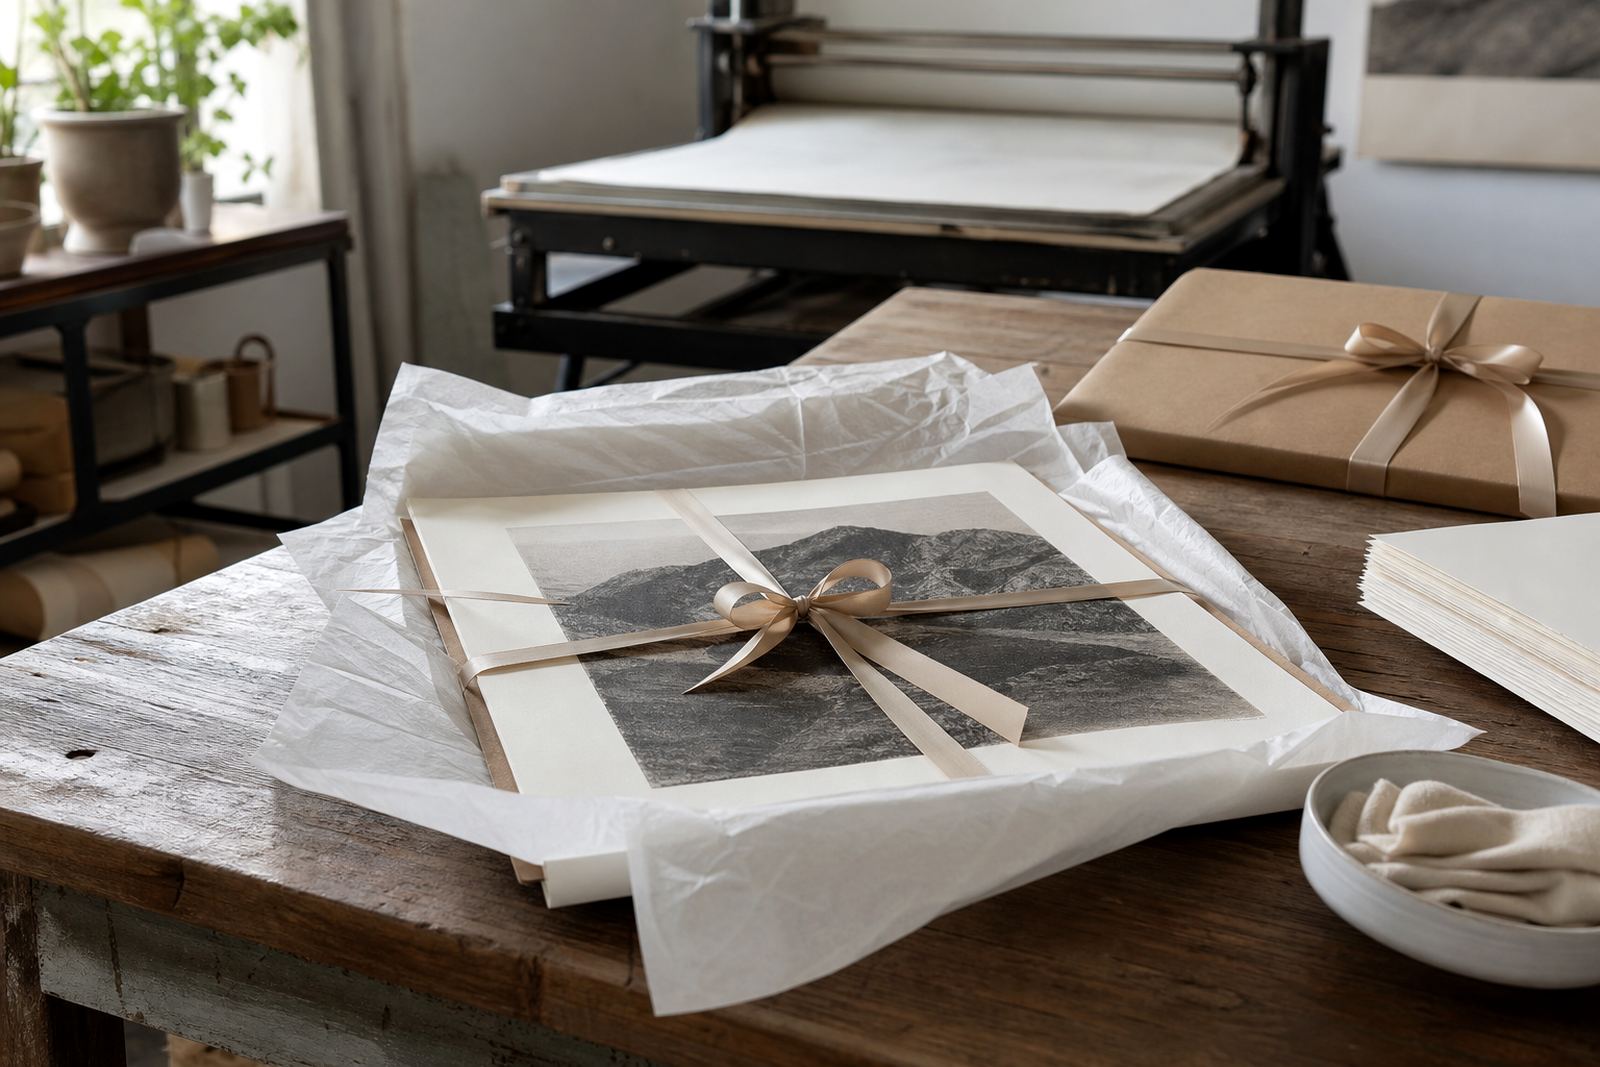
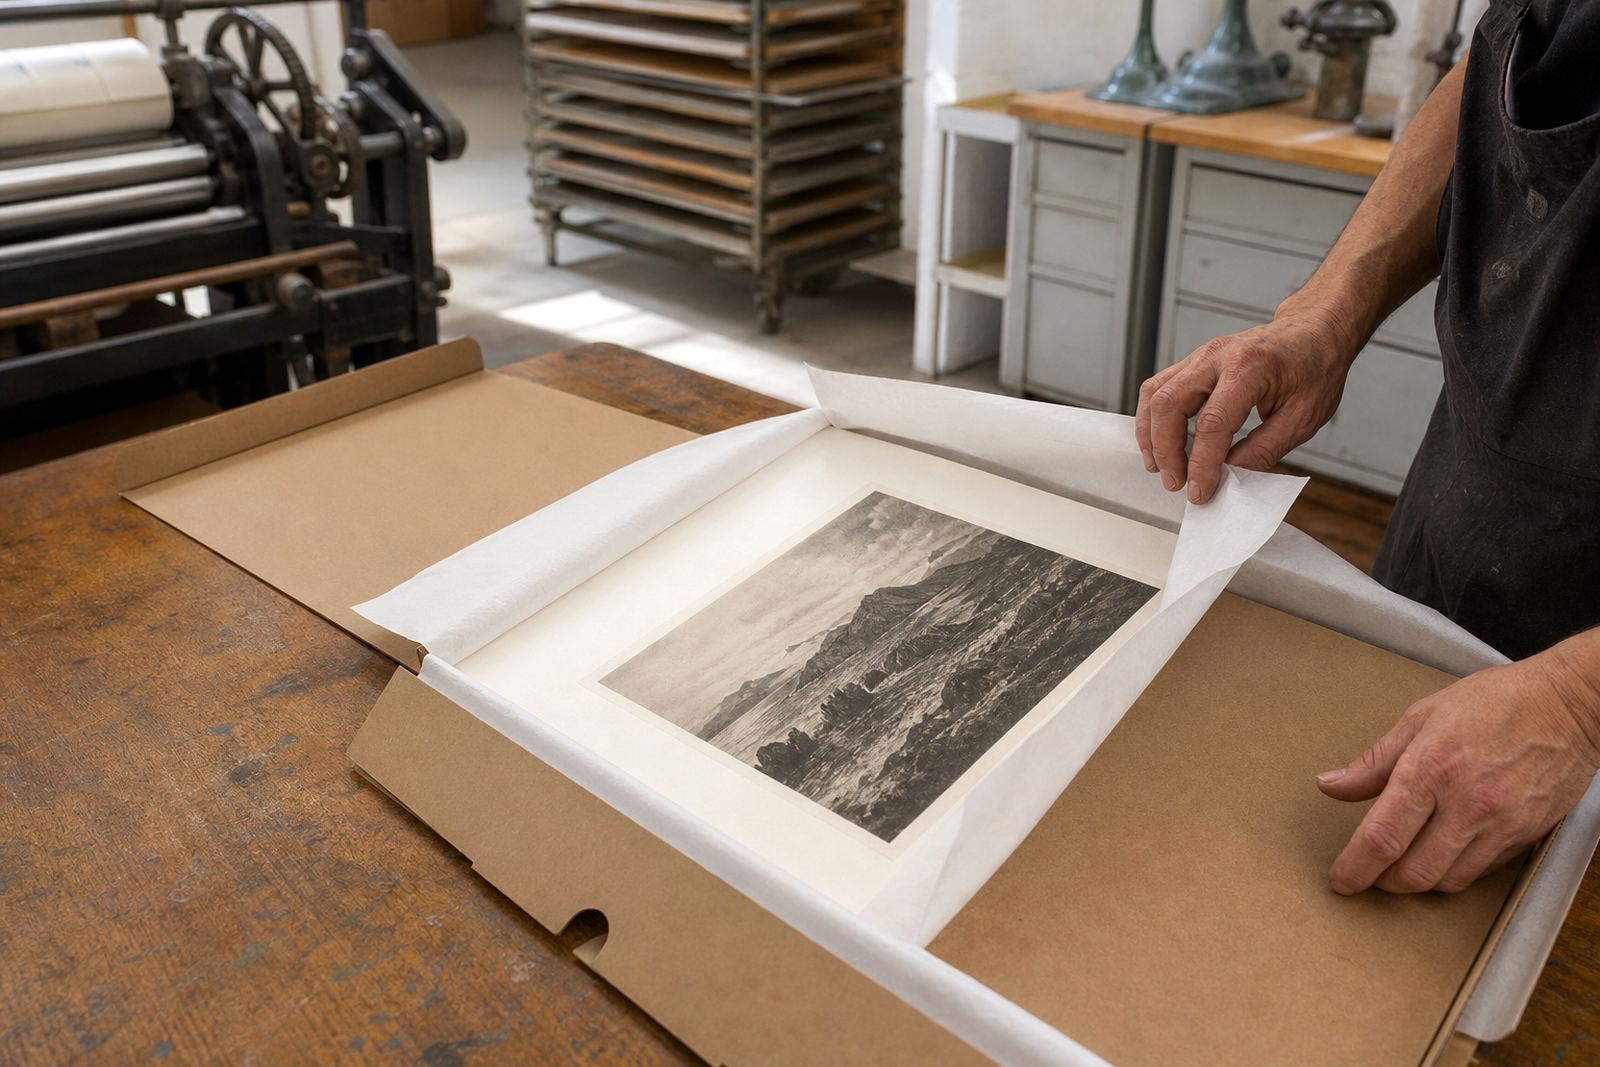
If a print is stored flat, keep it in an archival folder or portfolio, away from heat, pets and strong light. That simple care goes a long way.
How to Read a Limited Edition Print
When a print is signed and numbered, the edition mark tells you where it sits within the run. A print numbered 3/20 means it is the third impression in a total edition of twenty. Artist proofs and printer proofs are usually kept aside and may be marked separately. These are part of normal printmaking practice and should be identified clearly.
Collectors should look for consistency in paper, margins, signature placement and numbering. Small variations can happen in hand-pulled prints, but the edition should still stay within the agreed standard. If a work has been framed, ask whether the print has been hinged properly and whether the mount is reversible.
Visiting the Studio and Asking the Right Questions
Studio visits are useful for artists, collectors and anyone who wants to understand how a lithograph is made from stone to finished print. In Woodstock, visitors can see the tools, stones, papers and proofing setup up close, which helps when comparing approaches or planning a new edition. For clients outside Cape Town, enquiries are handled through the contact form and follow-up can cover paper, framing and packing for delivery.
- How many colour runs will the edition need?
- Will the paper suit the intended framing and display conditions?
- How are artist proofs, printer proofs and final edition prints marked?
- What care is recommended after framing and before hanging?
Good questions make for better prints. They also help artists and collectors choose work that will age well and stay true to the original intent.