Why the drawing material matters before the first proof
In stone lithography, the drawing is not just an image on top of the stone. It is the work itself. The materials used to draw, block, wash and correct the stone determine how the press will carry tone, line and texture through the edition. A soft crayon can give a velvety mark, while tusche can float across the stone in washes that look closer to ink or watercolour.
Because the process depends on the balance between grease and moisture, small choices matter. A heavily worked line may print with a dense edge, while a light touch can hold a quieter grey. Artists who understand the nature of each material usually plan their image more carefully and avoid surprises when the first proof comes up from the press.
Crayon, tusche and the basic grease family
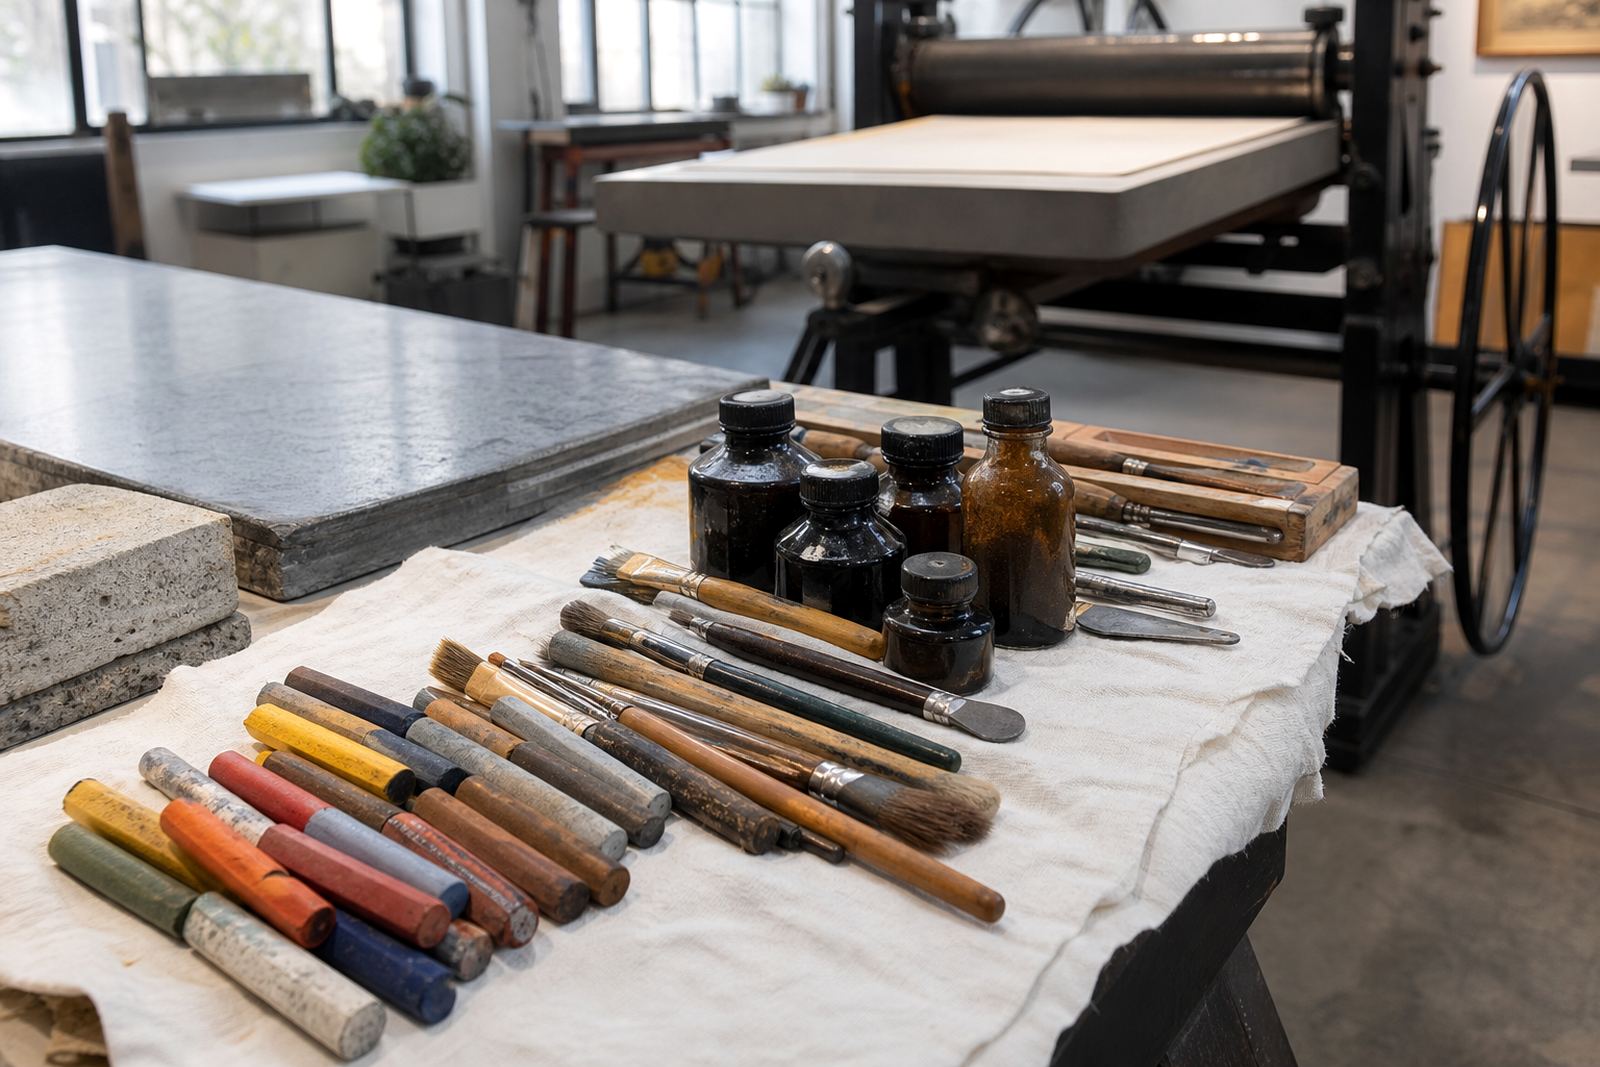
Most people meet stone lithography through lithographic crayon. It looks simple, but it comes in different hardness levels and each one behaves differently on the limestone. Harder crayons suit precise line work. Softer crayons lay down a richer, darker mark and can be worked into smooth shading. Some artists build up the image with hatching, while others use broad movement and layering.
Tusche is the other staple. It is a greasy liquid or wash used for tonal work, brush drawing and loose mark making. Depending on how it is applied, tusche can give crisp edges, soft gradients or speckled textures. It is often used with brushes, nibs or sponges, and it can be lifted or altered before processing if the stone still allows it.
- Crayon gives line, pressure and detail.
- Tusche gives wash, tone and fluid texture.
- Transfer paper can help move a drawing onto the stone with control.
What other materials do on the stone
Beyond crayon and tusche, stone lithography uses a set of grease based helpers that change how the image is built. Grease pencils can extend a drawing with sharper lines. Tinted stops and resist materials help separate areas. Some artists use scraping tools to open light again, or pen and brush combinations to balance structure with movement. Each mark has to be considered in relation to the stone, the paper and the final edition.
The stone itself is prepared before any drawing begins. It is ground and grained to a suitable surface, then handled in a way that suits the image. A very smooth grain can hold delicate mark making, while a coarser finish can add a slightly more tactile print. Once the drawing starts, the studio watches how the material sits on the stone and whether the image needs more body or more breathing room.
Some washes dry differently on warmer afternoons and some paper stocks react more slowly when the air is damp. That is why a proofing session is so useful, even for experienced artists.
How edition planning starts with the drawing
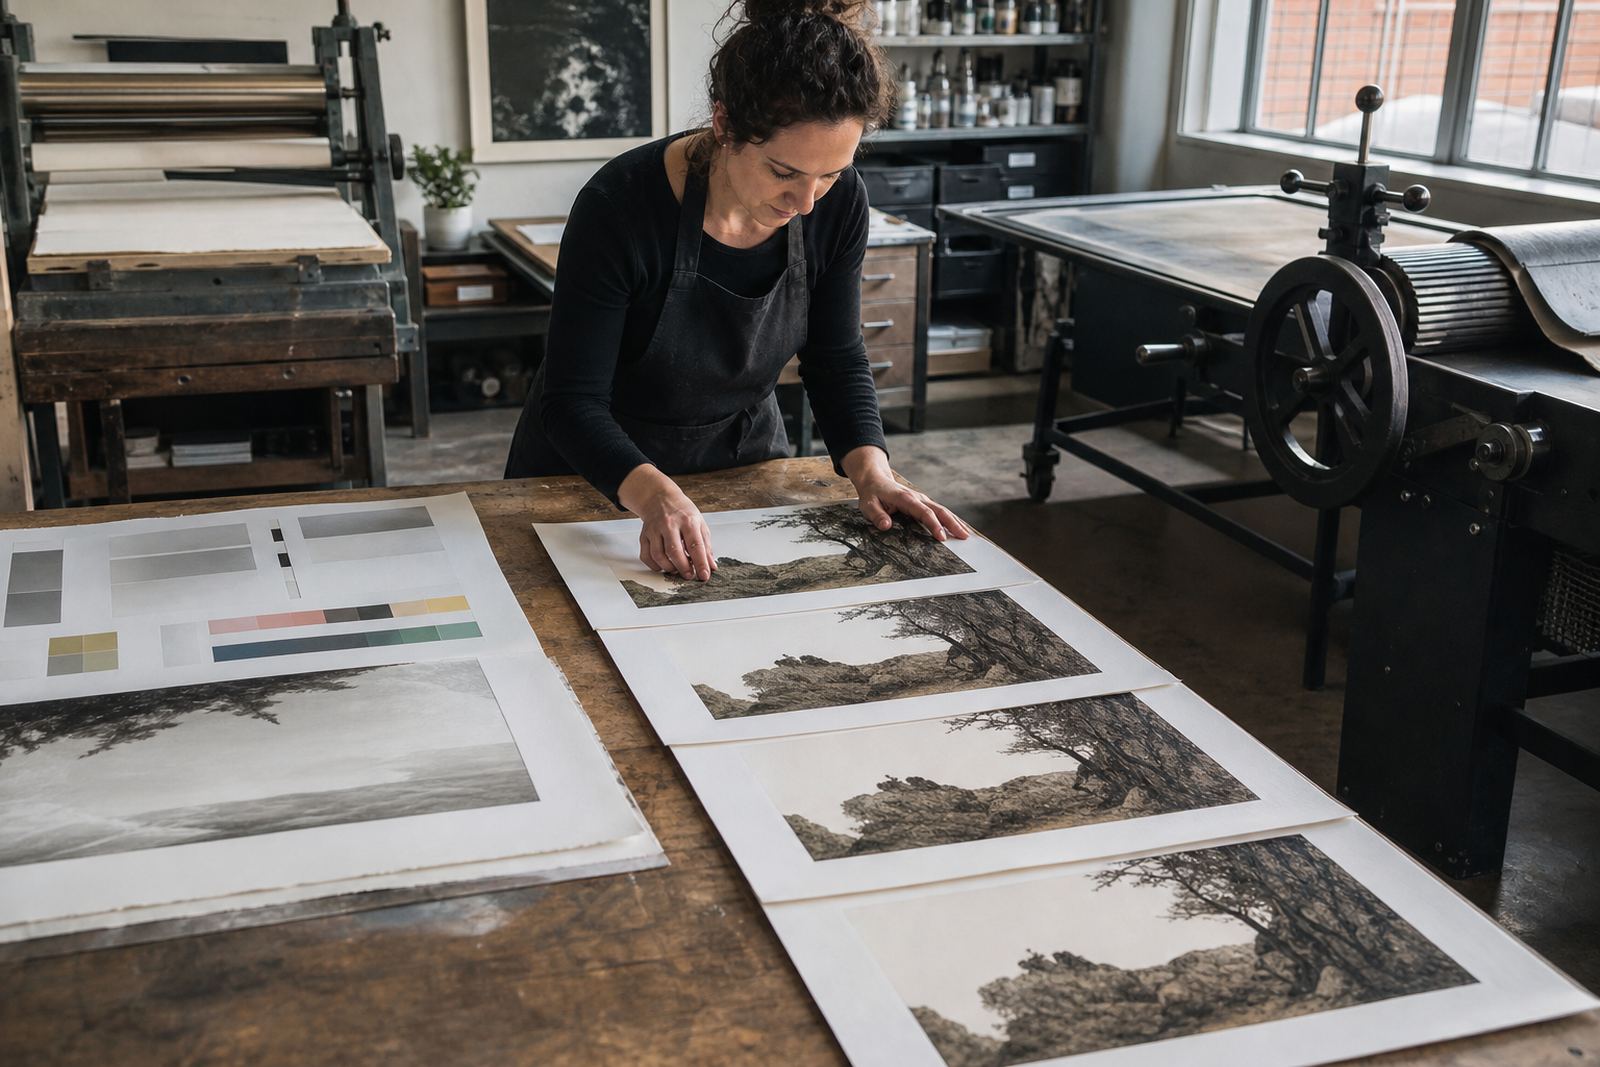
Edition planning is easier when the materials are chosen with the final print in mind. A drawing meant for a small, controlled edition may use a tightly managed range of crayons and tusche values. A more painterly image may need several proof stages to keep the mark alive without losing consistency across the run.
At this stage, the artist and printer decide how much correction the stone can take, which colours will be separated, and whether certain passages should stay open for hand-drawn variation. This is where the print begins to move from a single drawing into a planned edition. Good planning avoids overworking the stone, and it keeps the finished prints aligned from first to last.
- Set the image size before the drawing gets too far advanced.
- Decide where tone should be built in layers.
- Leave space for proof notes and small adjustments.
- Confirm edition size before signing and numbering begins.
Practical advice for artists preparing a stone lithograph
If you are bringing a drawing into a lithography studio, keep the materials simple at first. Too many tools can muddy the image. Start with the mark you need, then test the tone. A clean crayon line may be enough in one area, while a diluted tusche wash may work better elsewhere. The studio can help decide when to push contrast and when to leave the stone quieter.
Paper choice also matters. Some papers hold a sharp print edge, while others soften the image slightly. Archival papers are usually preferred for editions because they help with long-term stability. For collectors, that means the print is better suited to framing and storage, provided it is handled with clean hands and kept away from direct sun.
A practical local example: an artist in Newlands may want a print with deep black line and pale washes, but if the image is intended for a Durban collector, the studio will often advise stronger paper handling and careful packing because coastal humidity can affect how prints behave after purchase. The image itself stays the same, but the care around it changes.
Caring for finished prints and keeping the surface sound
Once the edition is printed, care becomes part of the work. Lithographs should be kept flat, dry and out of direct light. If a print is framed, use conservation standards where possible and avoid cheap backing materials that can stain over time. A print that has been carefully editioned can still be damaged if it is stored in a hot room, near a damp wall, or wrapped in plastic that traps moisture.
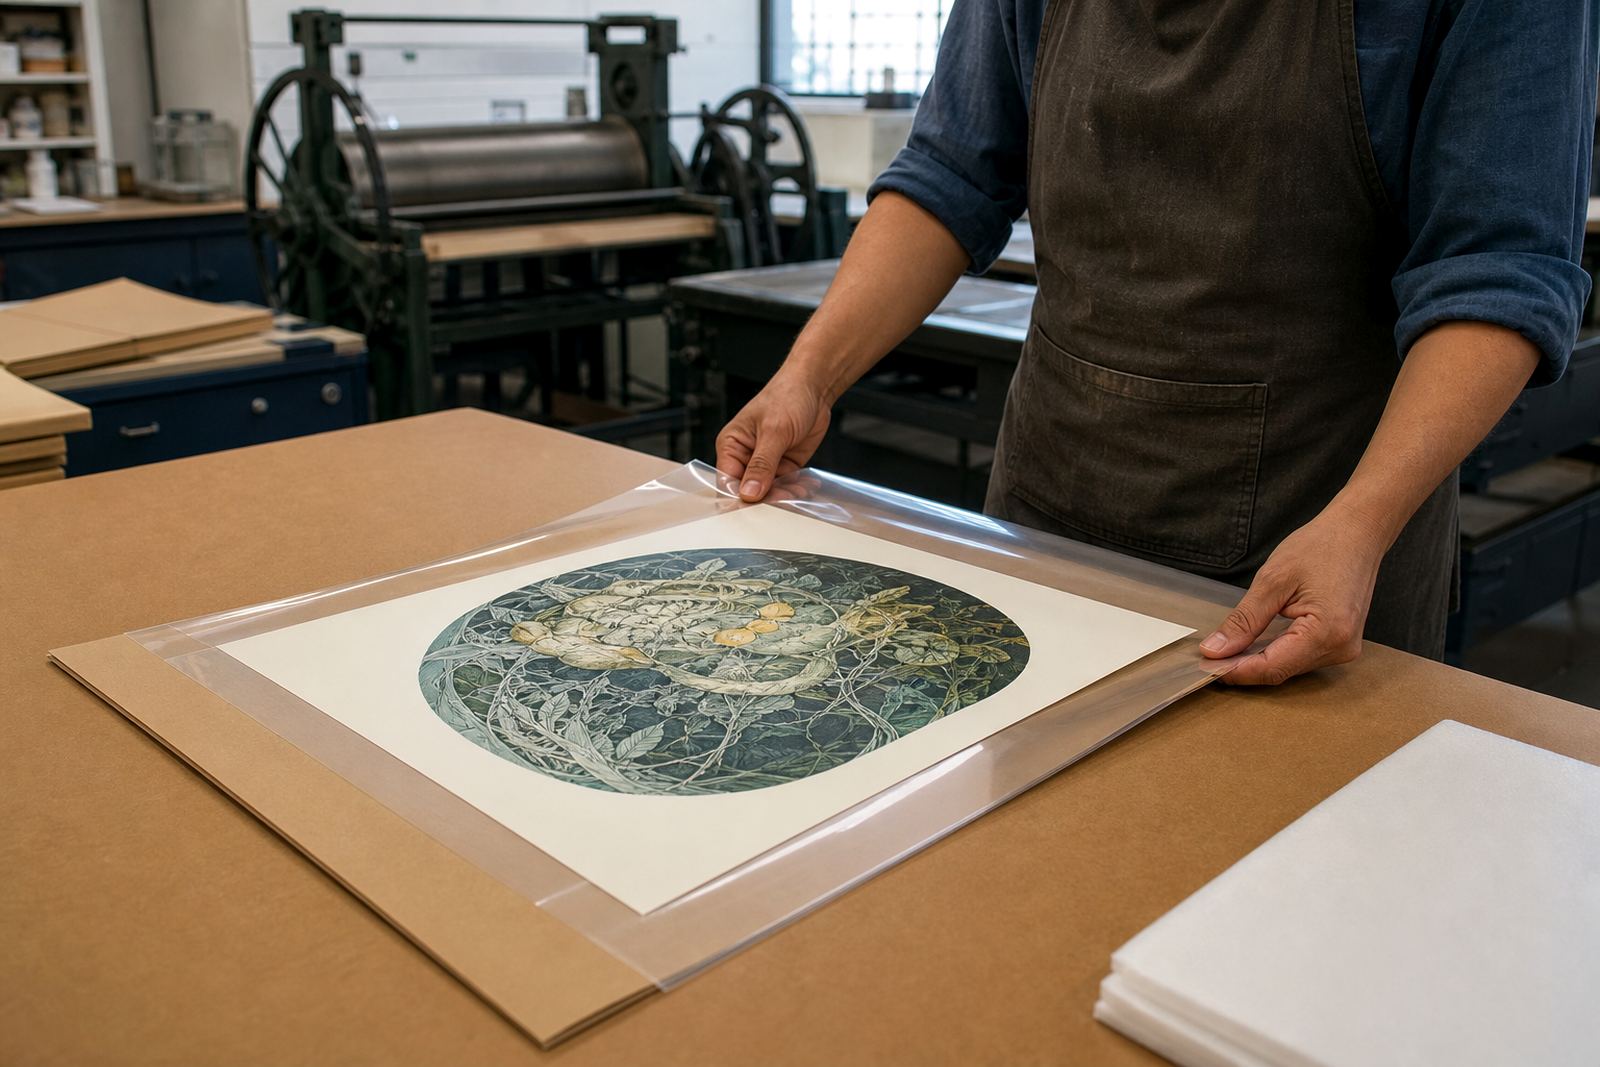
Collectors in Pretoria, Stellenbosch and Johannesburg often ask about moving prints between homes, offices and galleries. The answer is simple: keep the prints protected, stable and clean. If they are sent to another city, archival packing makes a real difference. It prevents scuffing on the corners and helps protect the surface from dust and rubbing.
- Store prints flat in a cool, dry place.
- Use acid free materials for mounting and packing.
- Avoid strong sunlight and wet walls.
- Handle each sheet by the edges only.
Why understanding the material gives the print more life
Stone lithography rewards artists who pay attention to the character of each drawing material. Crayon gives structure. Tusche gives movement. Grease based tools give the image its ability to print at all. When these are used with care, the final edition feels alive in a way that is hard to copy by any other method.
For artists and collectors across South Africa, that is part of the appeal. The image carries the pressure of the hand, the grain of the stone and the discipline of the process. In a fine art edition, the drawing materials are not just technical supplies. They are the language of the print.