Stone Lithography Starts With a Drawn Image
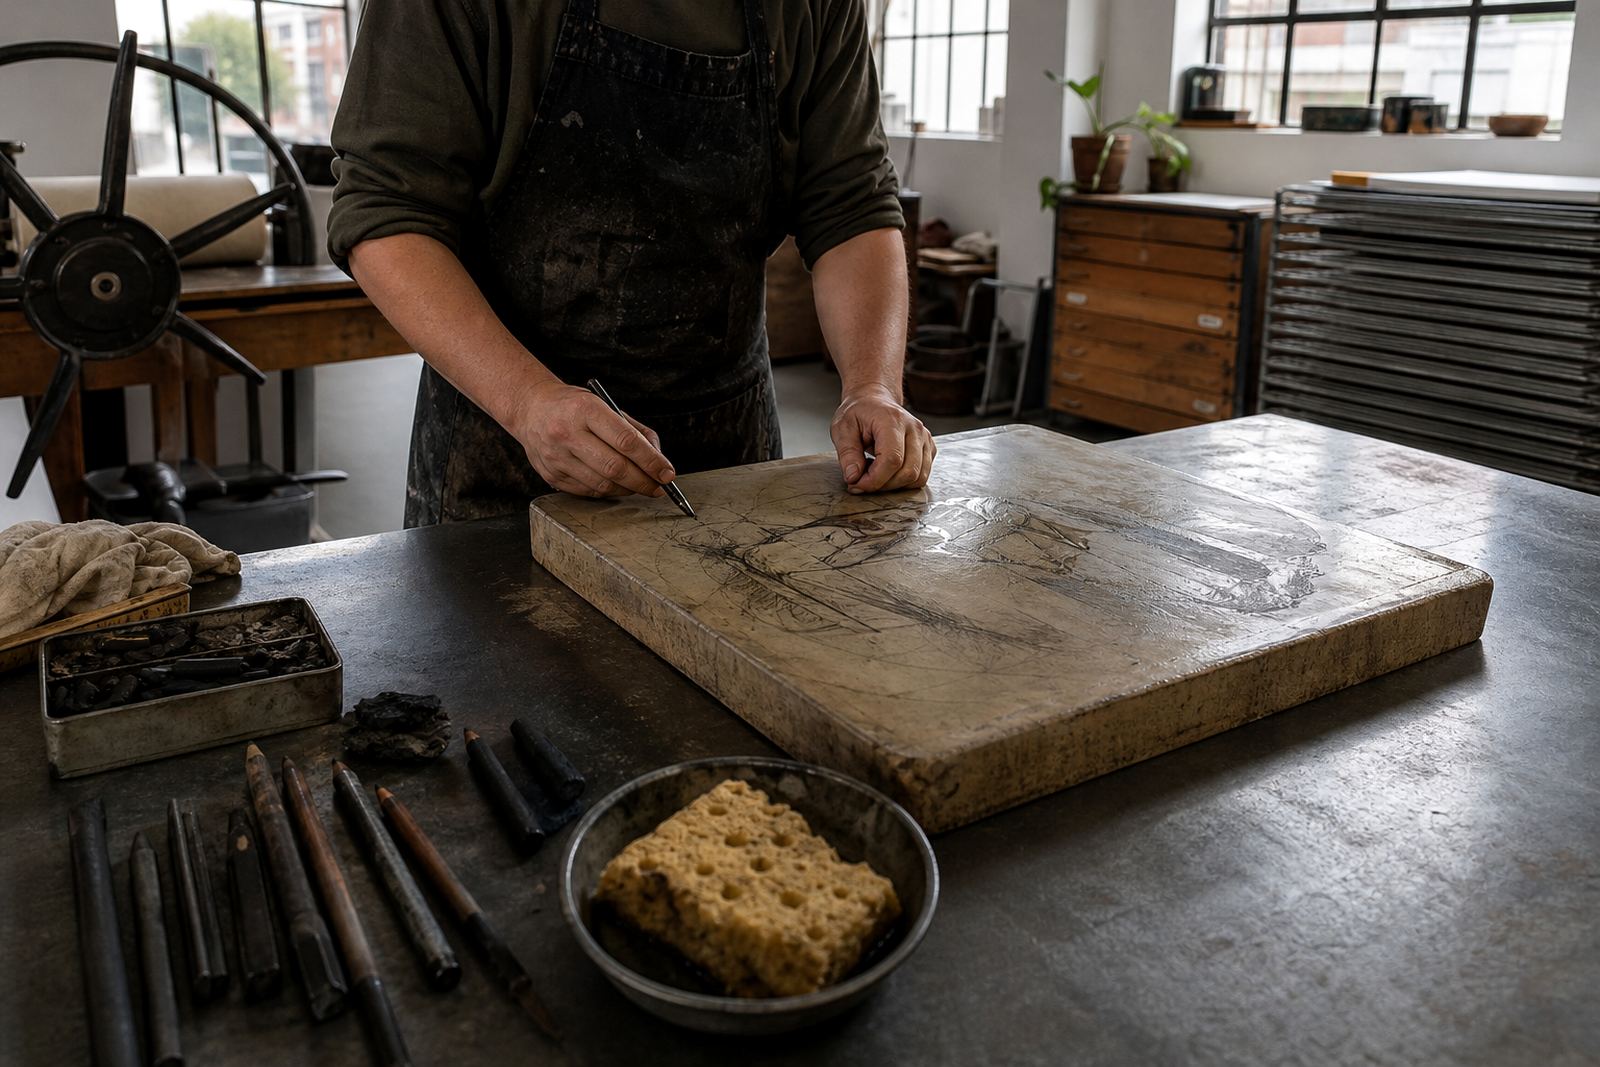
Unlike intaglio or relief methods, stone lithography works on a flat surface rather than one that is cut into. A smooth limestone slab is ground, then drawn on with greasy litho crayons, tusche or other drawing materials. The finished mark is not engraved, it is chemically fixed so the stone accepts ink only where the artist has drawn.
The process appeals to artists because it keeps the directness of drawing. A line can be soft, scratchy, broken or velvety, and each mark carries a specific pressure and rhythm. That is why stone lithography remains so valued for edition work, especially when detail and tonal depth matter.
How the Stone, Water and Ink Work Together
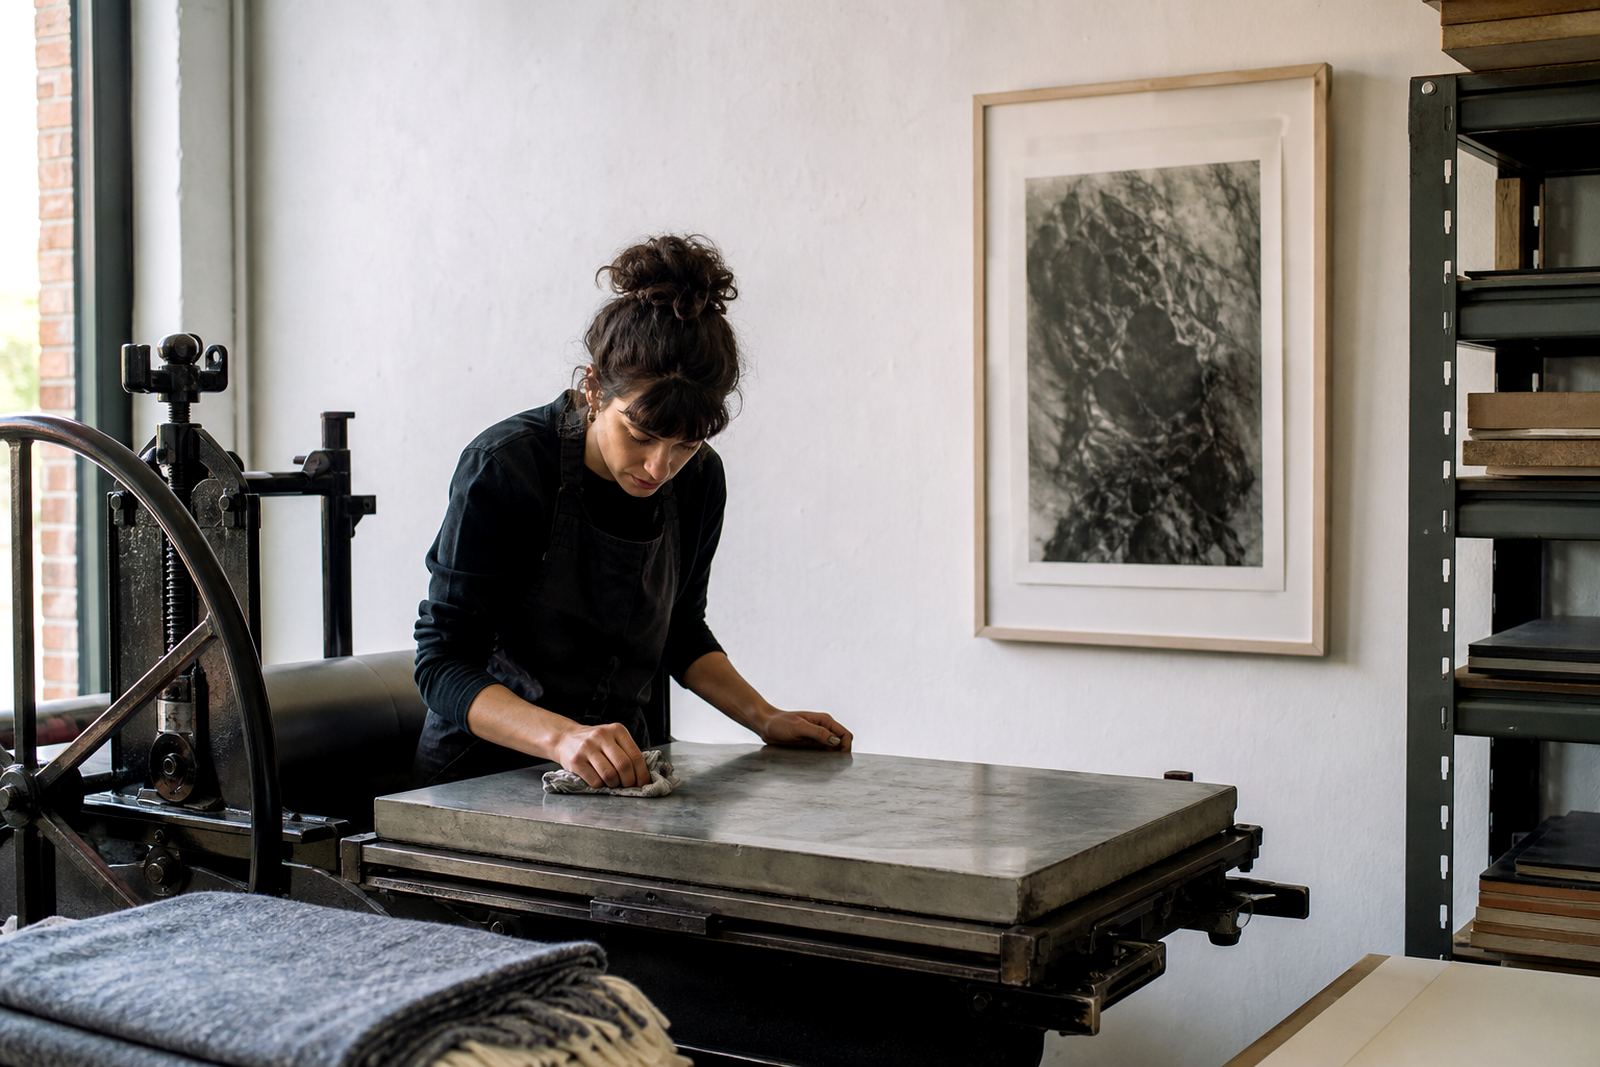
The principle is straightforward even if the craft takes years to master. The stone is treated so the non image areas hold water and repel ink, while the drawn areas accept ink and transfer it to paper under pressure. Before each impression, the printer dampens the stone, rolls ink across the surface and checks that the image is clean and balanced.
- The stone is prepared and grained to the right surface.
- The artist draws the image directly or through a transfer process.
- Chemicals fix the drawing so it will print.
- The printer wets the stone and rolls on greasy ink.
- The paper is pressed through a hand or press system to lift the image.
This gives stone lithography a particular softness and richness that many collectors recognise immediately. It also means every stage must be controlled carefully, from the first drawing to the final pull.
Why Limited Editions Matter
Most fine-art lithographs are issued as limited editions because the artist and printer agree on a fixed number of impressions. That limit protects the integrity of the work and helps each print remain part of a defined body of work. Once the edition is complete, the stone may be cancelled or retired, depending on the agreement.
Editioning is not only about quantity. It is also about consistency. The paper, ink strength, registration and drying time all need to stay within a controlled range so the edition reads as one coherent set. In practice, this means a collector in Cape Town and another in Johannesburg receive the same standard of print, not two versions that drift apart.
- Proofs are checked before the edition begins.
- Each print is numbered and signed where agreed.
- Colour layers must align from sheet to sheet.
- Studio notes are kept for registration and paper choice.
What Happens During a Proofing Session
A proofing session is where the image is refined before the full edition is printed. This is when the artist and printer test how the drawing holds ink, how colours sit on the paper and whether any areas need more pressure, less ink or a modified stone treatment. It is a practical stage, not a formality.
In a working studio, proofing often saves time later. A line that looks strong on the stone may print too light on paper. A colour that feels warm in the studio may dry cooler once the sheet has settled. Proofing lets the team make those adjustments before the edition is committed.
For local clients, this stage matters because transport, humidity and paper storage can affect the outcome. In Woodstock, where coastal air and seasonal damp can be part of daily life, paper must be kept flat, dry and well handled before printing. That same care matters whether the work is staying in Cape Town or travelling to Durban or Pretoria.
Choosing Paper and Ink for South African Conditions
Paper choice is not cosmetic. Some papers take heavy ink beautifully, while others suit delicate washes or fine line work. The printer and artist have to think about absorbency, surface texture, sheet size and how the paper behaves after drying. Heavier paper can carry more structure, while a lighter sheet may suit a cleaner image or smaller edition.
Ink choice matters just as much. Stone lithography can hold rich blacks, subtle greys and layered colour, but only if the ink is rolled correctly and the paper is matched to the image. For coastal homes in Sea Point or Newlands, collectors should also think about framing and placement away from direct sun, moisture and kitchen steam.
- Store unframed prints flat in a clean dry room.
- Hang or store them away from direct sun and moisture-prone walls.
- Use archival materials for mounts, backing and sleeves.
- If framing, ask for conservation glazing and acid free support.
How to Care for a Lithograph Once It Leaves the Studio
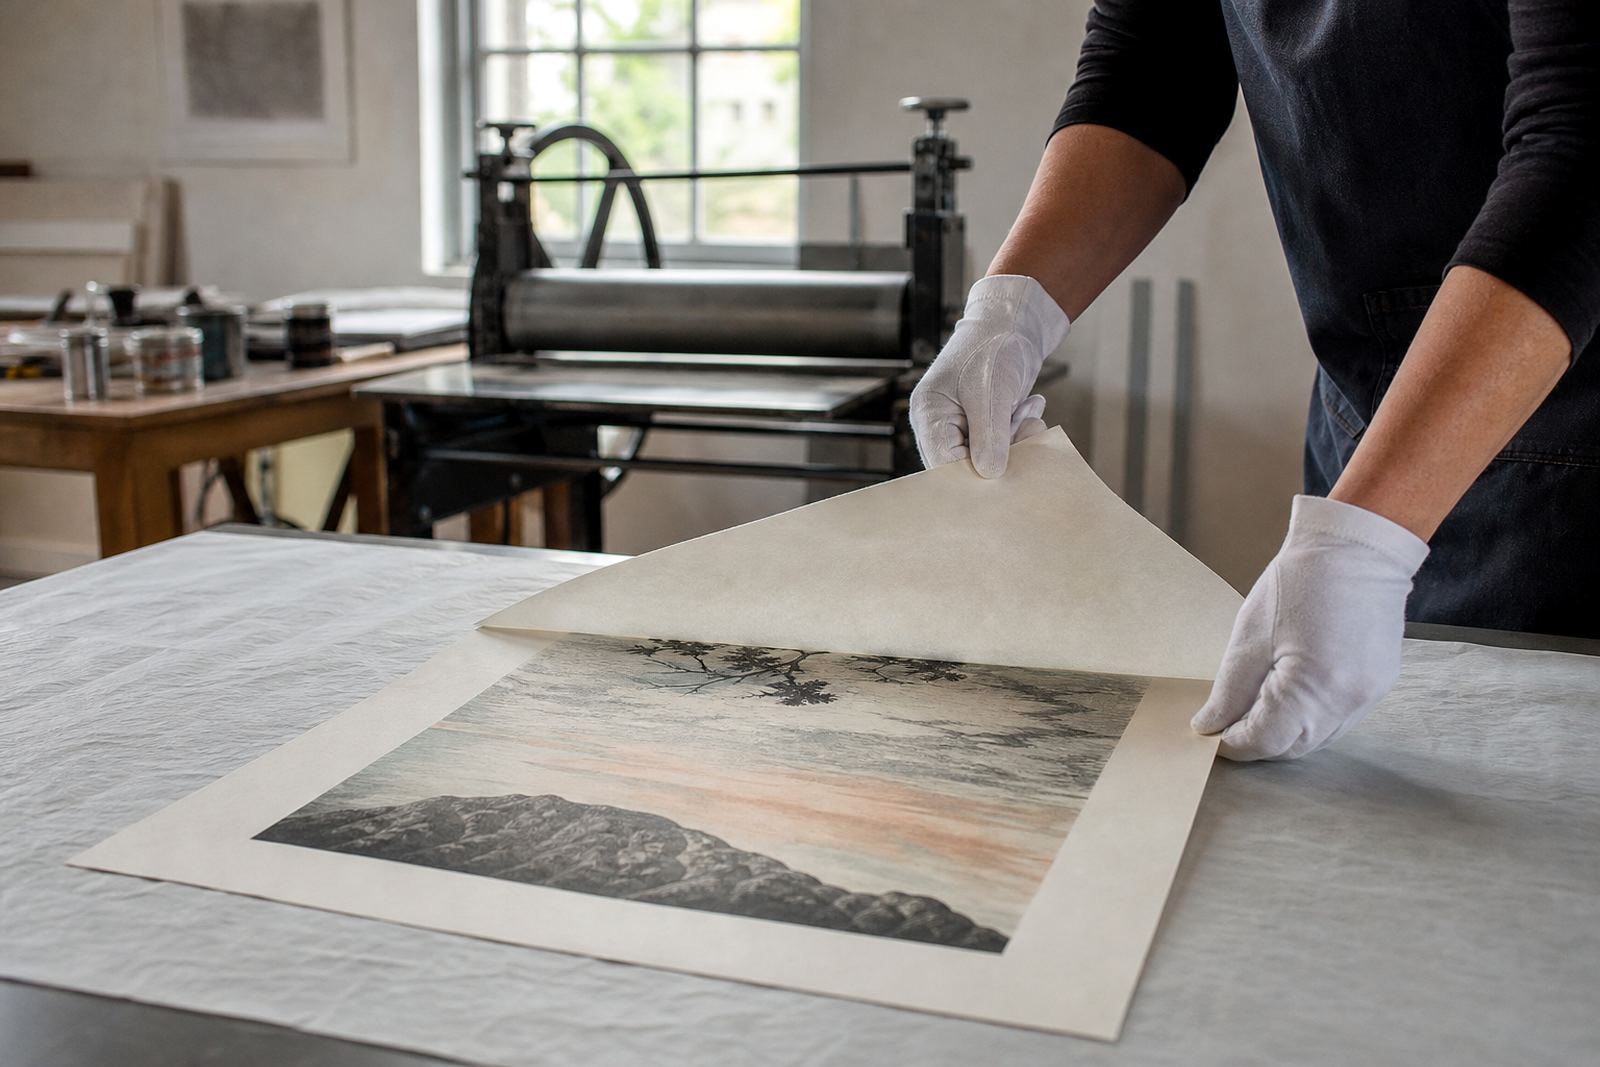
A lithograph can last for decades if it is handled correctly. The most important rule is to avoid touching the image surface more than necessary. Finger oils, humidity and dust can affect the paper over time. When moving a print, support it with clean hands or gloves and keep it flat rather than rolled unless a conservator advises otherwise.
If you collect art, a little discipline goes a long way. Do not hang a lithograph in strong midday sun, above a radiator or in a room with repeated condensation. A good edition should be enjoyed for years, not rushed into poor conditions.
For collectors wanting advice before framing, a studio visit in Woodstock can help with the practical details. We regularly guide clients on packing, storage and how to plan work for homes, offices and private collections across Stellenbosch, Johannesburg, Pretoria and Durban.